Chocolate mousse cake
Table of Contents
Introduction: Chocolate mousse cake
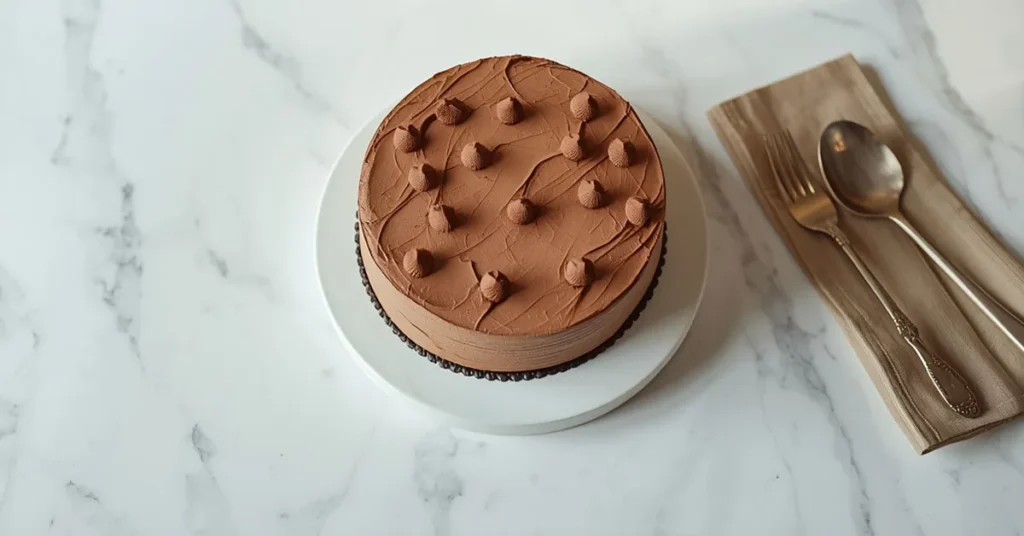
There’s something magical about cutting into a perfectly chilled Chocolate mousse cake — the knife glides through silky layers, revealing a cloud-like mousse resting over rich chocolate cake. If you’ve ever wondered how bakeries achieve that elegant balance between lightness and indulgence, you’re about to discover that it’s much simpler than it looks.
I still remember the first time I made a chocolate and mousse cake at home, expecting a complicated pastry challenge… only to realize that with the right method and a few smart baking tips, it becomes a surprisingly quick and easy recipe. The secret lies in combining airy chocolate mousse with deeply flavored melted chocolate, creating a dessert that feels luxurious without being heavy.
Whether you’re searching for a show-stopping chocolate dessert, a refined celebration cake, or just a new quick dessert idea to impress family and friends, this recipe invites you to slow down, enjoy the process, and create something truly memorable — one creamy, chocolate-filled layer at a time.
Why Choose This Recipe
If you’ve ever wanted to create a dessert that feels both elegant and comforting, this Chocolate mousse cake is exactly what you need. It combines the richness of a classic chocolate cake with the airy softness of mousse, resulting in a dessert that looks sophisticated but remains surprisingly approachable to make at home.
This recipe was designed with real home bakers in mind — simple techniques, reliable results, and flavors that never disappoint.
🍫 The Perfect Balance of Light & Rich
Unlike heavy cakes that feel overwhelming after a few bites, this mousse cake achieves harmony between texture and flavor.
- A soft chocolate base provides structure
- A silky chocolate mousse filling adds lightness
- Melted chocolate delivers deep cocoa intensity
The result is a chocolate dessert that feels indulgent yet delicate — ideal for both celebrations and everyday treats.
⏱️ Elegant Results Without Complicated Techniques
Many people assume a chocolate mousse cake recipe requires advanced pastry skills. In reality, this version focuses on clarity and efficiency.
You’ll love it because it is:
- A quick and easy recipe with step-by-step guidance
- Made using accessible ingredients
- Achievable without professional equipment
Even beginner bakers can create bakery-style results with confidence.
🎂 A Versatile Cake for Every Occasion
One of the greatest strengths of this chocolate cake with chocolate mousse is its adaptability.
It works perfectly as:
- A birthday centerpiece
- A refined dinner-party dessert
- A romantic homemade treat
- A make-ahead quick dessert idea
Serve it chilled for elegance or slightly softened for extra creaminess — both experiences are equally irresistible.
🧁 Texture That Impresses Every Time
What truly makes this recipe stand out is its contrast in textures:
- Tender cake layer
- Smooth, creamy mousse
- Light yet stable structure for clean slices
This combination creates a professional finish while remaining forgiving during preparation — a hallmark of any best recipe worth keeping.
💡 Built-In Baking Confidence
Throughout this recipe, you’ll learn practical pastry tips that apply far beyond this cake:
- How to work safely with melted chocolate
- How to fold mousse without losing air
- How chilling improves structure and flavor
These skills turn a single bake into a valuable learning experience you can reuse again and again.
In short, this Chocolate mousse cake isn’t just about making dessert — it’s about creating a moment. A recipe that feels impressive yet welcoming, luxurious yet simple, and guaranteed to make anyone who tastes it ask for another slice.
Here’s a professional, visually appealing recipe summary for your Chocolate Mousse Cake, structured in a user-friendly table format:
| 🍫 Recipe Details | |
| ⏱️ Preparation Time | 25 minutes |
| 🔥 Cooking Time | 25–30 minutes (for the cake base) |
| ⏳ Total Time | 4–5 hours including chilling |
| 🍽️ Portions | 8–10 servings |
| ⚡ Calories | ~420 kcal per slice |
| 🏷️ Categorization | |
| 🍰 Course | Dessert / Chocolate Dessert |
| 🔧 Cooking Method | Baking + Chilling |
| 🌟 Difficulty | Medium |
| 🌍 Cuisine | French-inspired pastry |
| 👩🍳 Skill Level | Intermediate — suitable for home bakers familiar with folding mousse and layering cake |
Focus on Ingredients & Equipment Required
Before we begin assembling this beautiful Chocolate mousse cake, let’s set the foundation for success. Great baking isn’t about complicated techniques — it’s about understanding your ingredients and preparing your workspace with intention. When everything is measured and ready, the process becomes calm, enjoyable, and surprisingly effortless.
Think of this stage as your “mise en place,” the secret behind every smooth baking experience.
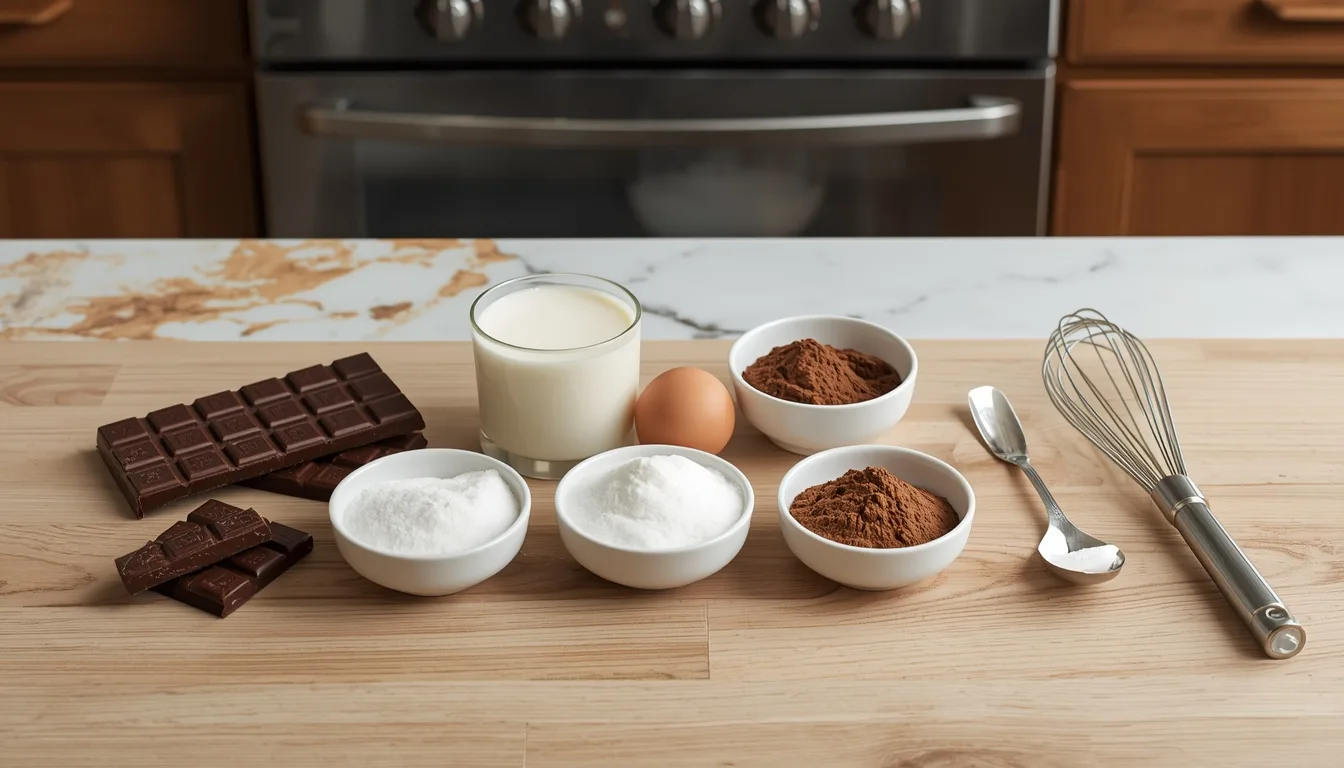
🧾 Ingredients & Exact Quantities
This recipe creates one 20 cm / 8-inch cake (8–10 servings).
🍰 Chocolate Cake Base
The base provides structure while staying soft enough to support the mousse layer.
- 2 large eggs
- 120 g (½ cup) sugar
- 100 ml (⅓ cup + 1 tbsp) milk
- 80 ml (⅓ cup) neutral oil
- 120 g (1 cup) all-purpose flour
- 30 g (¼ cup) unsweetened cocoa powder
- 1 tsp baking powder
- 1 pinch salt
- 1 tsp vanilla extract
✅ Tip: Oil keeps the crumb moist even after refrigeration — ideal for a chocolate cake with chocolate mousse.
🍫 Chocolate Mousse Filling
This is the heart of the recipe — light, creamy, and intensely chocolatey.
- 200 g dark baking chocolate (60–70% cocoa recommended)
- 400 ml cold heavy cream (minimum 30% fat)
- 40 g (3 tbsp) sugar
- 1 tsp vanilla extract
- 5 g gelatin (optional, for extra stability)
This combination creates a smooth chocolate mousse filling recipe for cake that slices cleanly while staying airy.
✨ Optional Flavor Enhancers
Want to personalize your mousse cake? Try one of these subtle upgrades:
- 1 tsp espresso powder → enhances chocolate depth
- Pinch of sea salt → balances sweetness
- Orange zest → adds freshness
- Chocolate shavings → elegant decoration
Small additions can transform your chocolate dessert into a signature creation.
🍽️ Equipment Required
No professional pastry lab needed — just reliable basics.
Essential tools:
- 20 cm (8-inch) springform pan
- Mixing bowls (large + medium)
- Electric mixer or hand whisk
- Rubber spatula (for gentle folding)
- Saucepan or double boiler (for melted chocolate)
- Offset spatula or spoon for smoothing
- Cooling rack
🔧 Smart Preparation Tips
A few simple baking tips before moving forward:
- Use room-temperature eggs for better volume in the cake.
- Chill the cream beforehand — cold cream whips faster and holds structure.
- Melt chocolate gently over low heat to avoid grainy texture.
- Prepare the pan lining early to simplify assembly later.
These small habits make the entire Chocolate mousse cake recipe feel seamless and stress-free.
With your ingredients measured and equipment ready, you’ve already completed the most important step: preparation. From here, the transformation from simple components to an elegant mousse cake becomes pure baking pleasure.
Step-by-Step Method — Bringing Your Recipe to Life
Now comes the most satisfying part — turning simple ingredients into something truly memorable. Follow these steps at a relaxed pace, and remember: great baking isn’t about rushing; it’s about enjoying the process as much as the final bite.
1. Preparing the Chocolate Cake Base
Preheat the oven to 170°C (340°F) and prepare a 20 cm / 8-inch cake pan. In a large bowl, whisk 2 large eggs with 120 g (½ cup) sugar until the mixture becomes pale and slightly fluffy. Add 100 ml (⅓ cup + 1 tbsp) milk, 80 ml (⅓ cup) neutral oil, and 1 tsp vanilla extract, mixing until smooth. This combination creates a moist foundation that stays soft even after refrigeration.
2. Mixing and Baking the Cake
In another bowl, sift together 120 g (1 cup) all-purpose flour, 30 g (¼ cup) unsweetened cocoa powder, 1 tsp baking powder, and 1 pinch salt. Carefully incorporate the dry ingredients into the wet mixture, mixing only until everything is just blended together. Pour the batter into the prepared pan and bake for 25–30 minutes, until a toothpick inserted comes out with a few moist crumbs. Let the cake cool completely before adding the mousse.
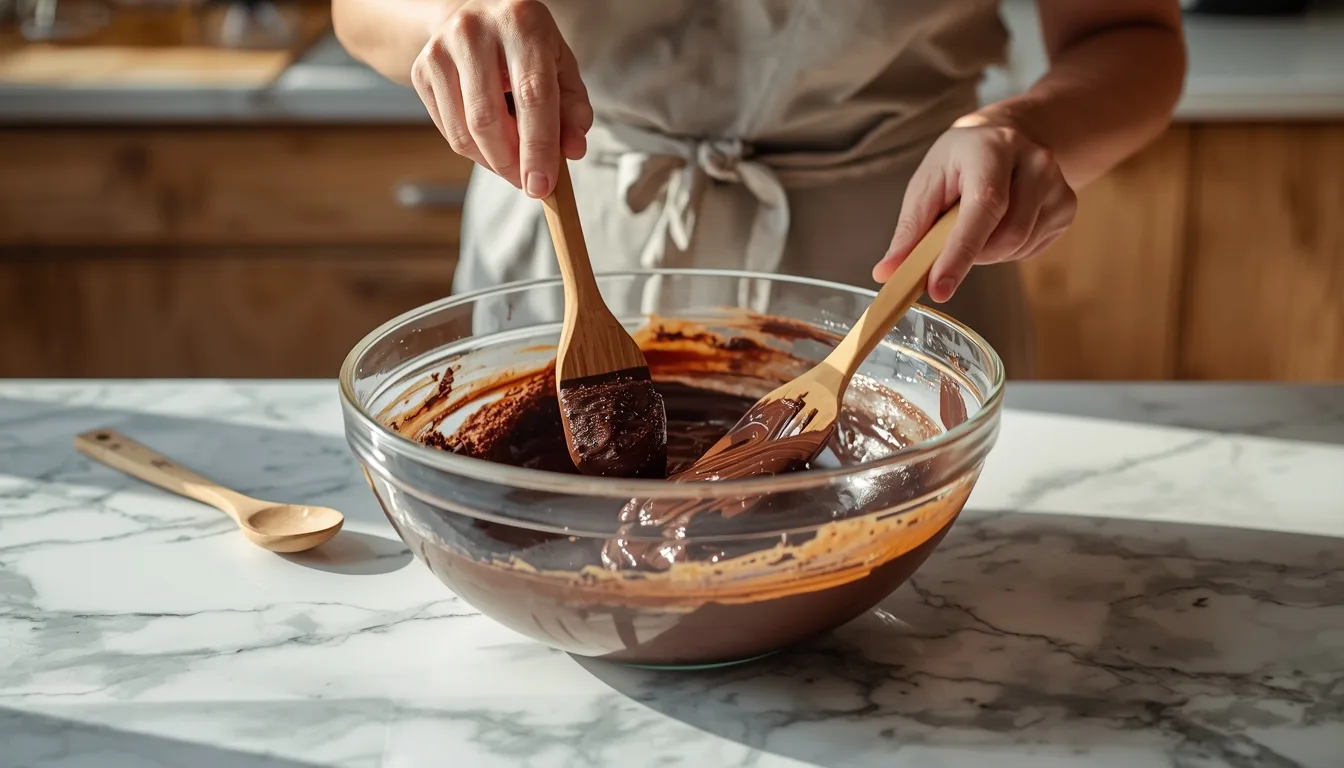
3. Making the Chocolate Mousse Filling
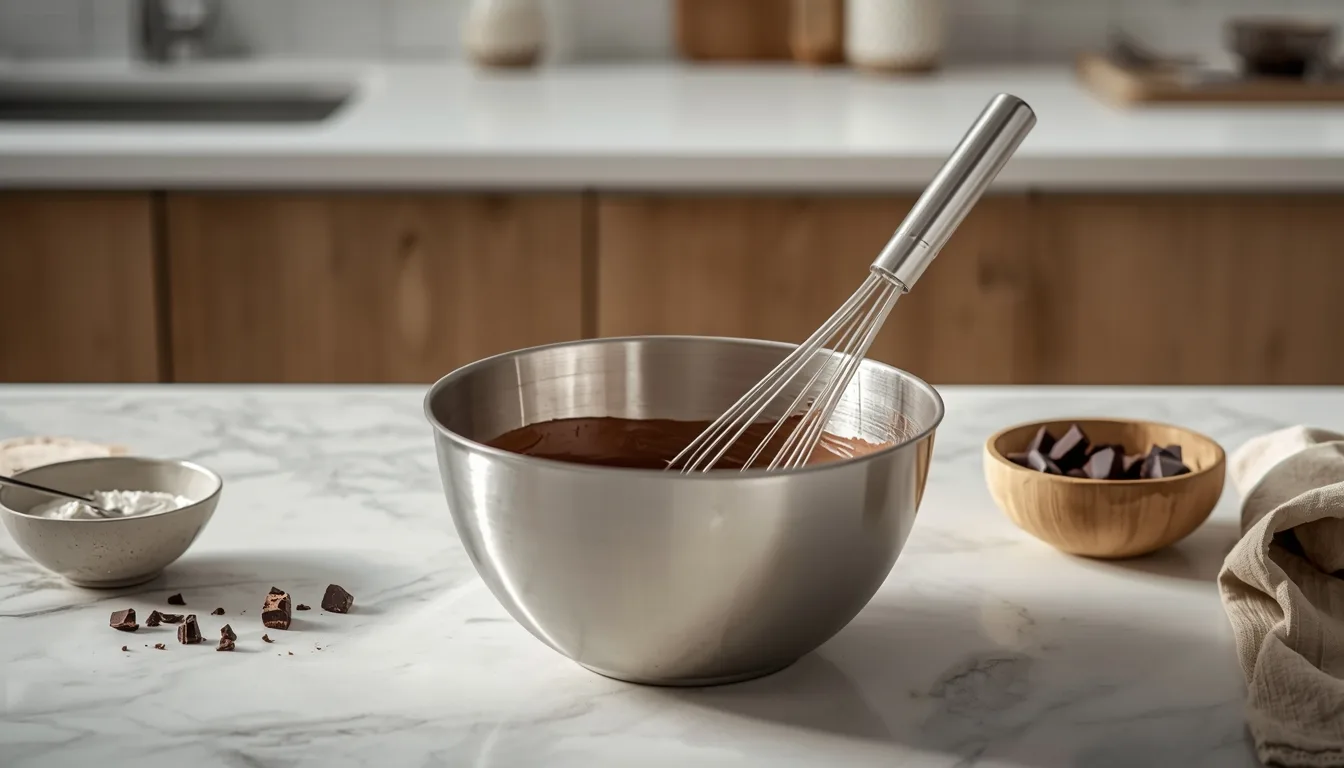
Melt 200 g dark baking chocolate (60–70% cocoa) slowly using a double boiler or microwave in short intervals, stirring until smooth. If using stabilization, bloom 5 g gelatin in 2 tablespoons of cold water for about 5 minutes. Allow the melted chocolate to cool slightly so it remains fluid but not hot.
4. Folding and Stabilizing the Mousse
In a chilled bowl, whip 400 ml cold heavy cream (minimum 30% fat) with 40 g (3 tbsp) sugar and 1 tsp vanilla extract until soft peaks form. If using gelatin, gently melt it and stir it into the warm chocolate. Add one spoonful of whipped cream into the chocolate to loosen it, then carefully fold the chocolate mixture into the remaining cream using slow motions. This creates a light and creamy chocolate mousse filling that holds its shape beautifully.
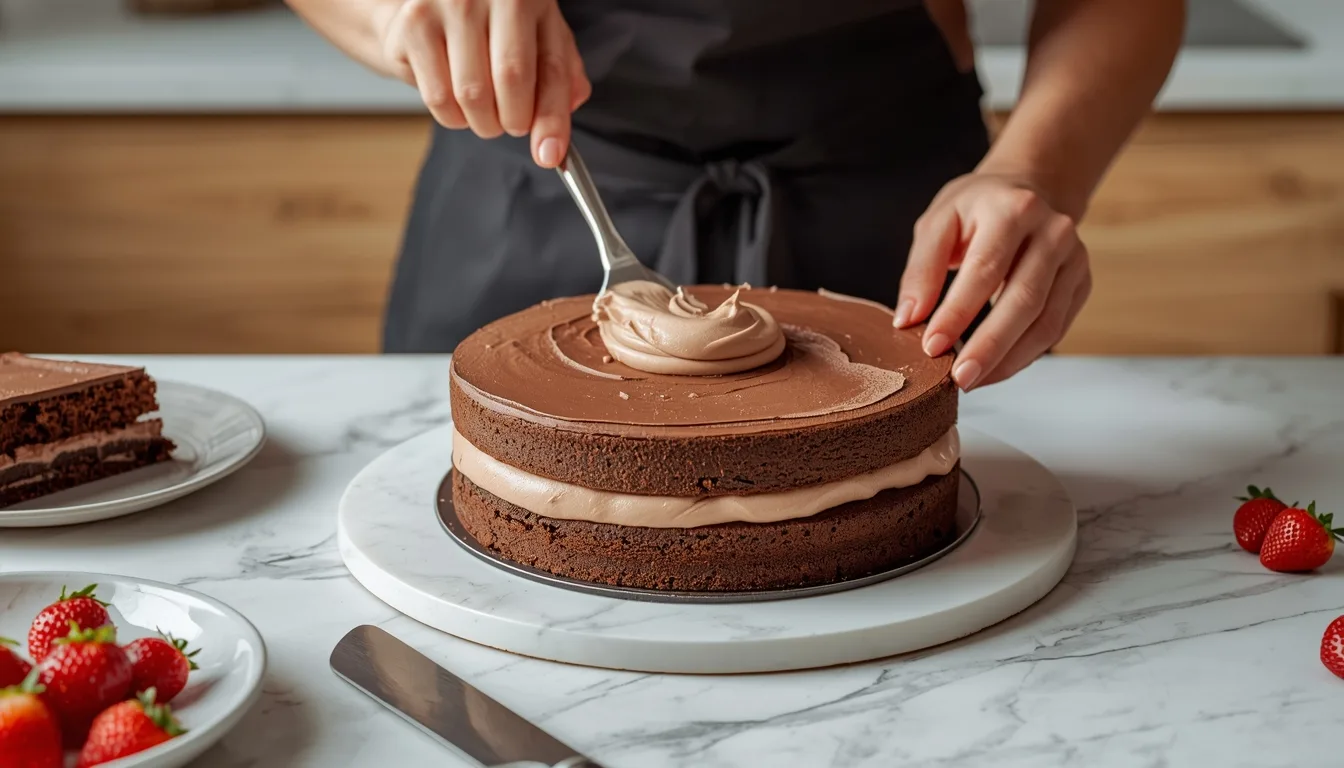
5. Assembling the Chocolate Mousse Cake
Place the fully cooled cake back into its pan or inside a cake ring. Spread the prepared mousse evenly over the cake base using a spatula. For optional flavor enhancement, you may add 1 tsp espresso powder, a pinch of sea salt, or sprinkle chocolate shavings on top before chilling.
6. Chilling and Setting the Cake
Refrigerate the assembled cake for at least 4 hours, preferably overnight. During this time, the mousse firms up while keeping its airy texture, allowing the cake to slice cleanly without losing creaminess.
7. Decorating and Serving
Carefully remove the cake from the mold once fully set. Decorate with additional chocolate shavings, a light dusting of cocoa powder, or a touch of orange zest for freshness. Slice using a warm knife for neat, professional-looking portions and serve chilled for the best texture and flavor.
With these steps, you’re not just following a recipe — you’re mastering techniques that improve every future bake. Up next, we’ll explore tips to customize and elevate your creation even further.
Pro Tips, Variations & Flavor Enhancements
Now that your dessert is baked to perfection, let’s take things a step further. This section is where creativity meets technique — small adjustments that can transform a good homemade dessert into an unforgettable one. Think of these ideas as friendly kitchen secrets you can return to again and again.
⭐ Pro Tips for the Best Results
Even simple recipes benefit from a few professional habits:
- Use high-quality chocolate whenever possible. Better chocolate means deeper flavor and a smoother finish.
- Weigh ingredients instead of guessing for consistent baking results every time.
- Don’t skip the cooling stage — flavors develop and textures stabilize as the dessert rests.
- Add a pinch of salt to enhance sweetness and intensify chocolate notes naturally.
Kitchen insight: Slight underbaking often creates a softer, more indulgent texture, especially for chocolate-based desserts.
🍫 Easy Flavor Variations to Try
One recipe, endless possibilities. Adapt it based on mood, season, or what’s already in your pantry.
1. Nutty Upgrade
- Fold in toasted hazelnuts, almonds, or pecans.
- Adds crunch and balances sweetness beautifully.
2. Extra Chocolate Lover Version
- Mix dark and milk chocolate chunks.
- Sprinkle chocolate chips on top before baking for a bakery-style look.
3. Fruity Twist
- Add raspberries or chopped strawberries for a subtle tart contrast.
- Orange zest also pairs wonderfully with chocolate flavor.
4. Lighter Option
- Replace part of the butter with Greek yogurt for a softer, lighter crumb while maintaining moisture.
🔥 Texture Control Guide
Small adjustments change the final result dramatically:
- For a fudgier texture:
- Reduce baking time slightly.
- Increase chocolate content.
- For a fluffier cake-like texture:
- Whisk eggs longer to incorporate air.
- Bake fully until the center is just set.
- For crisp edges:
- Use a metal pan instead of glass.
Understanding these variables helps you customize the recipe exactly to your preference.
💡 Make It Your Signature Recipe
The beauty of homemade baking lies in personalization. Try keeping notes each time you make the recipe — a little more chocolate here, a shorter bake there — until it perfectly matches your taste.
Once you start experimenting, this recipe stops being just instructions and becomes your dessert tradition, ready to impress family, friends, and even yourself every single time.
Creative Variations — Make Your Chocolate Mousse Cake Truly Yours
One of the greatest strengths of a chocolate mousse cake is its flexibility. Once you understand the base recipe, you can easily adapt flavors, textures, and presentation styles to suit any occasion. Think of this section as your creative playground — small changes that deliver big personality.
🍫 Chocolate Choices That Change Everything
The type of chocolate you choose directly influences flavor intensity and texture.
- Dark chocolate (70% cocoa): Creates a rich, elegant dessert with deep cocoa notes — perfect for a sophisticated chocolate dessert.
- Milk chocolate: Creates a sweeter, creamier mousse cake that’s perfect for family gatherings or beginner bakers
- Black chocolate blend: Mixing dark and milk chocolate balances bitterness and sweetness beautifully.
💡 Baking tip: Always melt chocolate gently using a double boiler or short microwave intervals to maintain a smooth chocolate mousse texture.
🍓 Flavor Twists for Every Season
Add subtle layers without complicating the recipe:
- Berry Layer: Spread raspberry or strawberry compote between cake and mousse for freshness.
- Coffee Enhancement: Stir a small amount of espresso powder into melted chocolate to intensify flavor without tasting like coffee.
- Citrus Touch: Orange or lemon zest adds brightness and balances richness.
- Nutty Crunch: Add praline, hazelnut paste, or toasted almonds for contrast.
These additions elevate a classic mousse cake into a bakery-style creation.
🎂 Texture Variations You Can Try
Customize the mouthfeel depending on your preference:
- Ultra-Light Version
- Fold whipped cream gently into the chocolate mousse filling.
- Perfect for a lighter dessert experience.
- Creamy Chocolate Cake Filling
- Add mascarpone or cream cheese for extra stability and richness.
- Ideal when using the recipe as a chocolate mousse cake filling for layered cakes.
- Quick Dessert Idea
- Skip the layered assembly and serve mousse over chocolate sponge cubes in glasses for an elegant shortcut.
🎉 Occasion-Based Adaptations
Make the recipe fit the moment effortlessly:
- Birthday cake: Add a glossy chocolate ganache topping.
- Dinner party dessert: Bake in individual molds for refined portions.
- Quick and easy recipe version: Use a ready-made sponge base to save time.
- Healthy pastry approach: Reduce sugar slightly and rely on high-quality baking chocolate for natural flavor depth.
👩🍳 ChocoChefAI Creative Tip
Before assembling your chocolate cake with chocolate mousse, chill the mousse for 15–20 minutes. This simple step improves structure, making spreading easier and giving cleaner, professional-looking layers.
Storage, Preservation & Delicious Reuse Ideas
A great chocolate mousse cake deserves to stay just as delightful the next day as it was when freshly assembled. Proper storage not only preserves flavor and texture but also ensures your silky chocolate mousse filling remains light, creamy, and safe to enjoy. Let’s walk through the best ways to store, serve again, and even reinvent your dessert.
❄️ How to Store Chocolate Mousse Cake Properly
Because this dessert contains cream-based mousse, correct refrigeration is essential.
In the refrigerator (best method):
- Lightly cover the cake using plastic wrap or transfer it to an airtight cake container for proper storage.
- Store at 4°C / 39°F or below.
- Keeps fresh for up to 3–4 days without losing texture.
- Place the cake on the middle shelf to maintain consistent temperature.
✅ Pastry tip: Avoid pressing wrap directly onto the mousse surface to preserve its smooth finish.
🧊 Can You Freeze Chocolate Mousse Cake?
Yes — and surprisingly well!
Freezing steps:
- Chill the cake fully in the refrigerator first.
- Freeze uncovered for 1 hour to firm the mousse.
- Wrap tightly in plastic wrap, then foil.
- Transfer to a freezer-safe container and freeze for a maximum of one month.
To thaw:
- Transfer to the refrigerator overnight.
- Never thaw at room temperature to protect the creamy chocolate cake filling.
Freezing actually helps stabilize the mousse, making slicing cleaner — a baker’s secret for perfect presentation.
♻️ Smart & Delicious Leftover Ideas
If you somehow have leftovers, transform them into new treats:
- Chocolate mousse parfaits: Alternate layers of cake cubes, whipped cream, and fresh berries.
- Frozen dessert bites: Freeze small squares for a quick chocolate snack.
- Trifle-style dessert: Combine with custard or yogurt for a quick dessert idea.
- Milkshake upgrade: Blend a slice with milk for an ultra-creamy chocolate drink.
Nothing goes to waste — every crumb becomes another indulgent moment.
👩🍳 ChocoChefAI Preservation Tip
For the freshest flavor, store your mousse cake away from strong-smelling foods like onions or cheese. Chocolate absorbs aromas easily, and protecting its delicate balance keeps your best recipe tasting exactly as intended.
✨ A Final Note on Enjoyment
Desserts made with care deserve thoughtful storage. When handled properly, your chocolate mousse cake recipe continues to deliver a light dessert experience days later — proof that great baking isn’t only about preparation, but also about preserving the magic you created in your kitchen.
Conclusion — Your New Go-To Chocolate Dessert
By now, your chocolate mousse cake is more than just a recipe — it’s a small culinary achievement. You’ve layered textures, balanced flavors, and transformed simple ingredients into a dessert that feels both elegant and comforting. Whether this was your first mousse cake or your tenth baking adventure, you’ve created something truly special.
🌟 Final Thought from ChocoChefAI
Great baking isn’t about perfection; it’s about creating moments people remember. When someone takes a bite of your chocolate cake with chocolate mousse and pauses with a smile, you’ll know the effort was worth it.
So keep your whisk ready, trust your instincts, and return to this best recipe whenever you want a reliable, crowd-pleasing dessert that never goes out of style.
Related Recipes — Explore More Chocolate Delights
Once you’ve mastered this chocolate mousse cake, your baking adventure doesn’t have to stop here. There are countless ways to experiment with chocolate, mousse, and layered desserts — each offering a unique twist on flavor, texture, or presentation. This section is all about inspiration and helping you build a repertoire of delicious, crowd-pleasing chocolate desserts.
🍫 Classic Chocolate Cake
A timeless favorite that pairs perfectly with whipped cream or fruit. Great base for experimenting with mousse layers or ganache toppings.
🔥 Chocolate Lava Cake
Individual-sized treats with molten centers. Perfect for a dramatic, quick dessert idea.
🍰 Triple Chocolate Mousse Cups
Mini desserts layering dark, milk, and white chocolate mousse. Great for parties or elegant plating. Allows practice with mousse texture and layering techniques.
🍫 No-Bake Chocolate Cheesecake
Ideal for warm days or when you want a quick and easy recipe. Teaches chilling and setting techniques for mousse-like fillings.
🌰 Chocolate Ganache Cake
Decadent layers coated in glossy chocolate ganache. Perfect for mastering smooth melted chocolate finishes. Can be adapted with different chocolate types: dark, milk, or black chocolate.