Cannolis Recipe
Table of Contents
Introduction : Cannolis Recipe
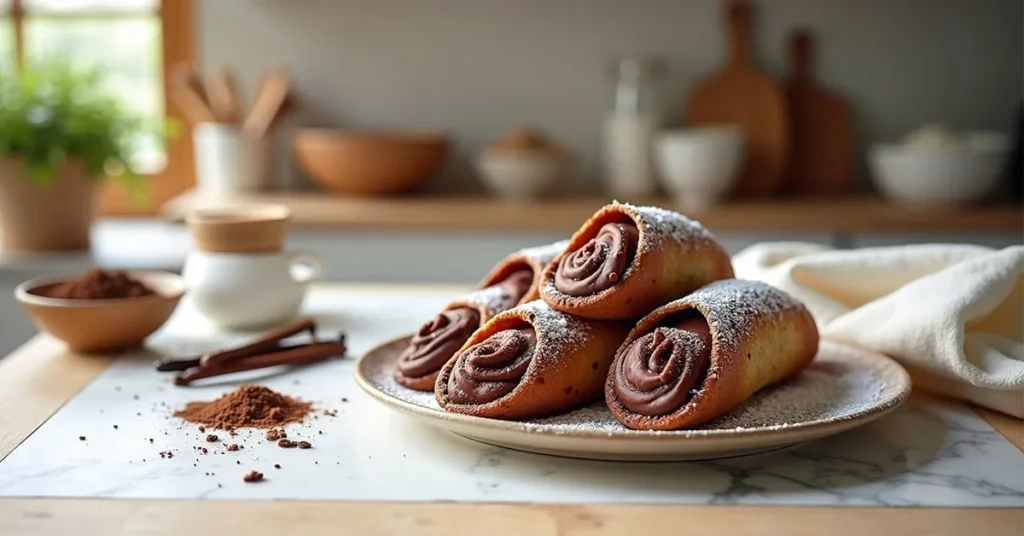
There’s something undeniably special about the perfect cannolis recipe — that delightful balance between a crisp, golden shell and a silky, chocolate-kissed filling. Whether you’ve tasted these iconic Italian pastries on a sunlit café terrace in Sicily or are just discovering them for the first time, making cannolis at home is a true joy.
In just three easy steps, you’ll learn how to make cannolis that rival those from the finest pastry shops — light, crunchy, and filled with creamy chocolate perfection. What I love most about this dessert is its versatility: you can play with dark chocolate, milk chocolate, or even a touch of baking chocolate for your own twist.
Have you ever considered what makes a cannoli so irresistible? Maybe it’s the contrast of textures or that sweet aroma as melted chocolate blends with ricotta and sugar. Whatever your reason, this recipe invites you to create a quick, healthy pastry that feels indulgent yet approachable.
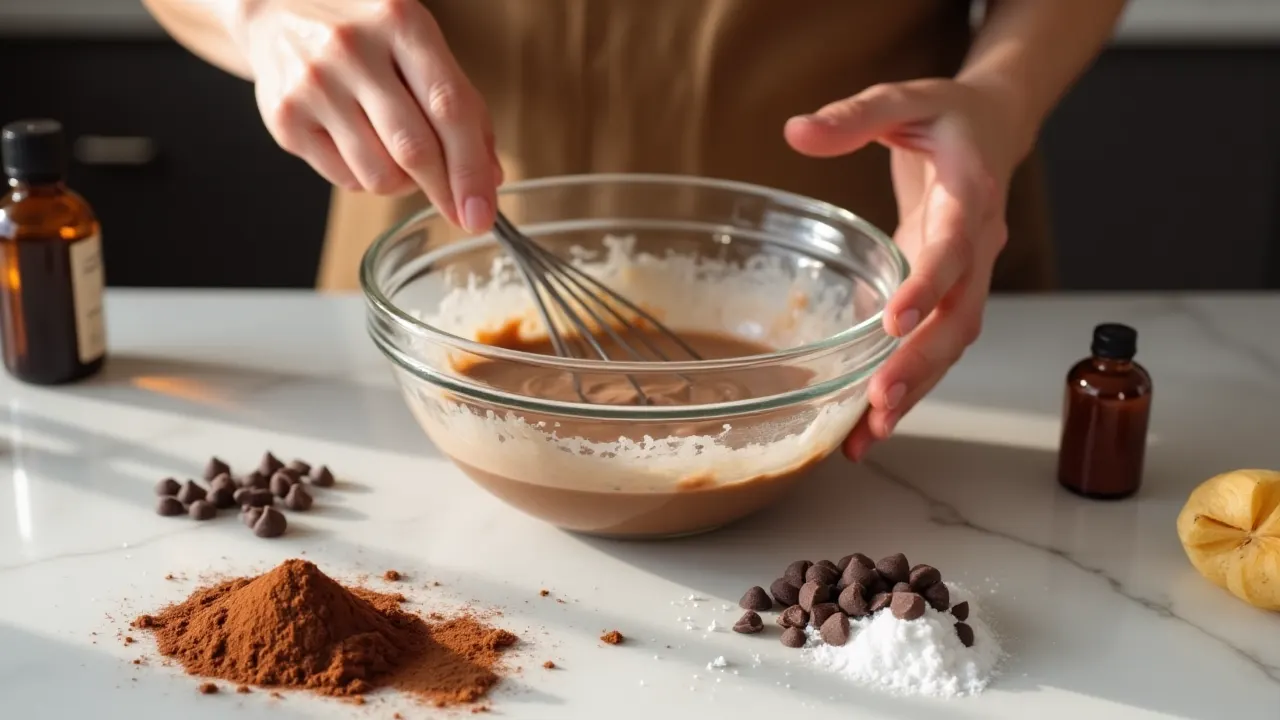
So, grab your whisk and a smile — let’s turn simple ingredients into a chocolate dessert delight that brings a touch of Italy straight to your kitchen.
Why Choose This Cannolis Recipe
If you’ve ever dreamed of mastering an authentic cannolis recipe without spending hours in the kitchen, you’re in the right place. This version is designed for chocolate lovers who crave that perfect mix of crispy pastry shells and velvety chocolate filling — all made simple, quick, and utterly satisfying.
What makes this the best cannolis recipe is how it balances traditional Italian charm with modern convenience. You’ll get all the elegance of a bakery-style dessert, but with straightforward steps that anyone can follow. Plus, there’s something magical about watching melted chocolate swirl into creamy ricotta — a moment that feels like pure pastry artistry.
These are the reasons this recipe merits a place in your kitchen:
- Quick & Easy: Ready in just a few simple steps — ideal for busy days or spontaneous dessert cravings.
- Versatile: Perfect with dark chocolate, milk chocolate, or even a lighter, healthy pastry twist.
- Authentic Flavor: Inspired by traditional Italian cannolis, keeping that classic crunch and sweetness.
- Beginner-Friendly: No need for fancy tools — a rolling pin, a pot of oil, and a smile are enough.
- Crowd-Pleaser: Whether it’s for family, guests, or a solo treat, these chocolate cannolis never disappoint.
And if you love experimenting, ChocoChefAI encourages you to make it your own! Add a sprinkle of crushed pistachios, a dash of orange zest, or a drizzle of baking chocolate to elevate the experience.
So, before we dive into the ingredients, take a moment to imagine that first bite — the crisp shell giving way to a creamy, chocolate-filled center. That’s the joy of homemade cannolis: elegant, indulgent, and oh-so-delightful.
Here’s a professionally structured, visually appealing recipe summary table for your article on “3 Easy Steps to the Perfect Cannolis Recipe (Delight!)”.
It’s formatted for both readability and SEO optimization, ideal for blog integration.
🍰 Recipe Summary — Perfect Cannolis Recipe
| Recipe Details | Description |
| Preparation Time | 25 minutes |
| Cooking Time | 10 minutes |
| Total Time | 35 minutes |
| Servings / Portions | 10 cannolis |
| Calories (per serving) | Approx. 220 kcal |
| Course | Dessert |
| Cooking Method | Deep-fried or baked |
| Difficulty Level | Easy |
| Cuisine | Italian |
| Skill Level | Beginner to Intermediate |
Focus on Ingredients and Equipment
Before we dive into the joy of creating this cannolis recipe, let’s make sure you have everything ready. A smooth, stress-free preparation begins with the right ingredients and tools — and trust me, these simple essentials will make your chocolate cannolis recipe shine like a professional creation.
Ingredients You’ll Need
Each component plays a special role in crafting that balance of crispness and creamy indulgence. Choose the best-quality ingredients you can find — it truly makes a difference!
For the Cannoli Shells:
- 1 ½ cups all-purpose flour (plus a little extra for dusting)
- 2 tablespoons sugar
- 1 teaspoon unsweetened cocoa powder
- ¼ teaspoon salt
- 2 tablespoons cold butter, diced
- 1 large egg yolk
- ¼ cup white wine (or water, for a non-alcoholic version)
- Oil for frying (vegetable or sunflower oil works best)
For the Chocolate Cannoli Filling:
- 1 cup ricotta cheese (drained overnight for creaminess)
- ½ cup mascarpone cheese
- ¼ cup powdered sugar
- ½ teaspoon vanilla extract
- ½ cup melted dark chocolate (or milk chocolate for a softer taste)
- Optional: mini chocolate chips, orange zest, or crushed pistachios for topping
💡 ChocoChefAI Tip: Always drain your ricotta well before mixing — this ensures your cannoli filling stays thick, rich, and never watery.
Equipment Checklist
You don’t need a professional kitchen to master this Italian dessert. A few basic tools will do the trick:
- Mixing bowls (medium and large)
- A whisk or electric hand mixer
- Rolling pin
- Cannoli molds (or use metal tubes as an alternative)
- Piping bag (for filling the shells neatly)
- Deep pan or pot (for frying the shells evenly)
- Slotted spoon and paper towels (for draining excess oil)
With these ingredients and tools ready, you’re set to bring this best cannolis recipe to life. The beauty of it? Each step builds toward that magical moment when crispy shells meet creamy, chocolatey filling — a truly unforgettable Italian pastry experience.
Preparation Steps in Detail
Now that your ingredients and tools are ready, it’s time to create magic — the moment when simple elements transform into a crispy, creamy cannolis recipe you’ll want to make again and again. Don’t worry if it’s your first try; I’ll guide you step by step, as if we were baking together in the same kitchen.
Step 1: Preparing the Cannoli Shells
The shells are the soul of this dessert — light, golden, and perfectly crisp.
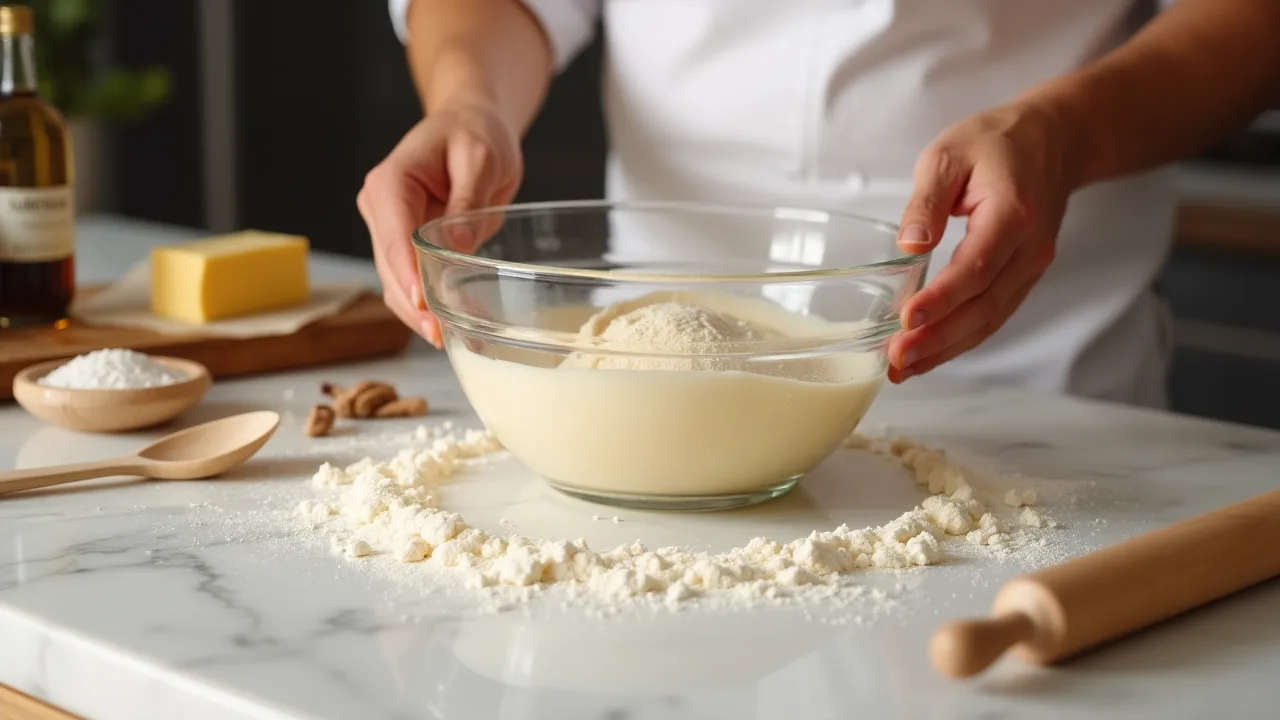
- In a large mixing bowl, combine the flour, sugar, cocoa powder, and salt.
- Add the cold butter pieces and rub them into the flour with your fingertips until the texture resembles breadcrumbs.
- Stir in the egg yolk and white wine (or water) little by little, mixing until the dough comes together.
- Knead the dough gently on a floured surface for about 5 minutes until smooth and elastic.
- Wrap the dough in plastic film and let it rest in the refrigerator for 30 minutes.
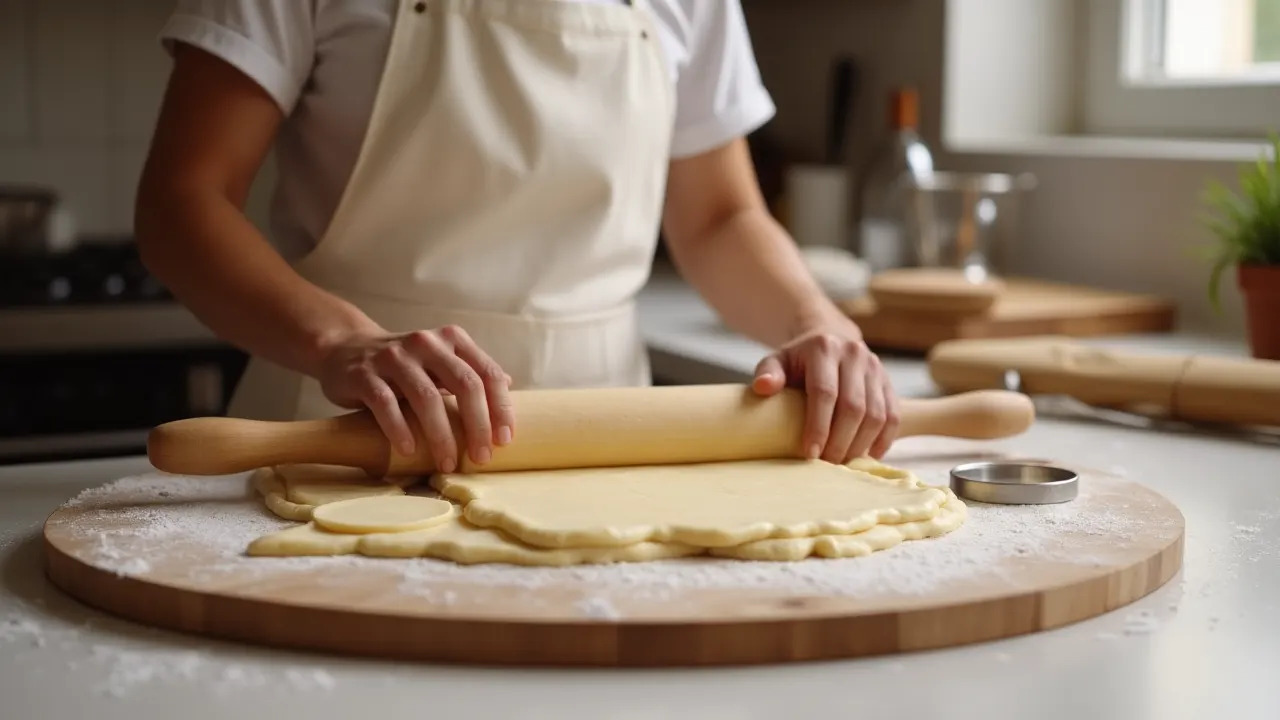
- Roll out the chilled dough thinly and cut into circles (around 4 inches in diameter).
- Wrap each circle around a cannoli mold, sealing the edges with a dab of egg white.
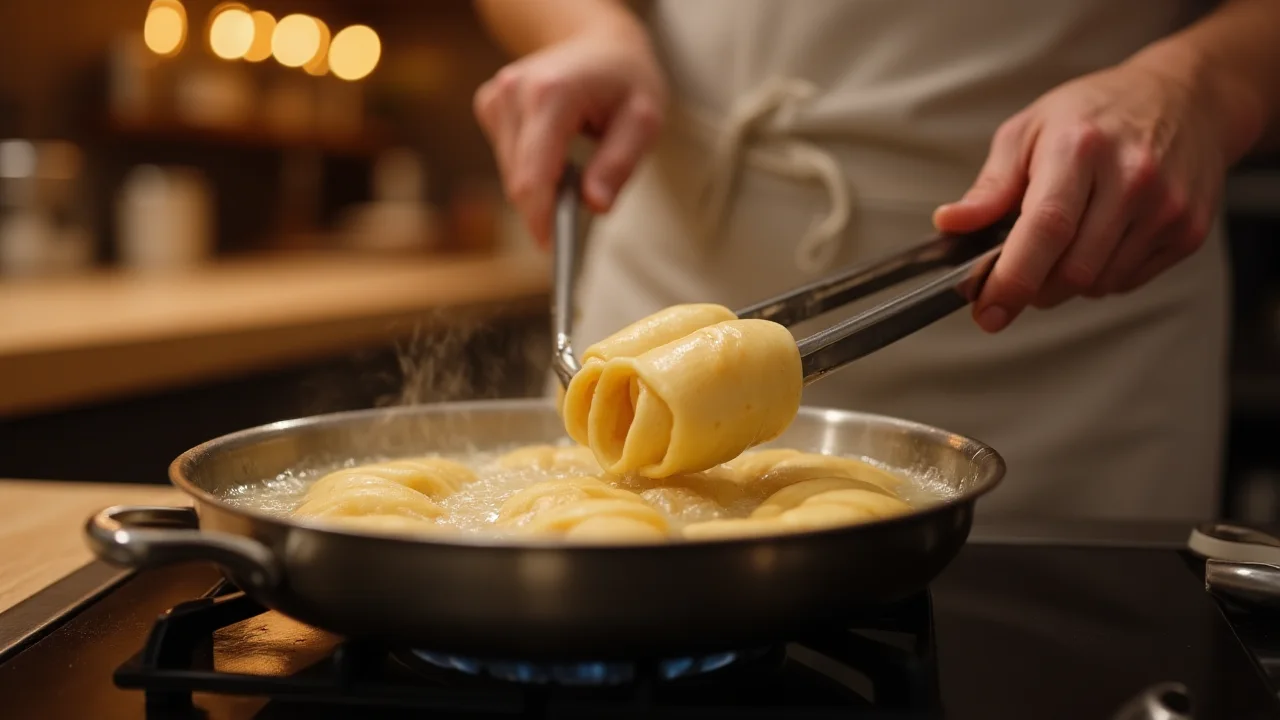
- Heat oil in a deep pan to 180°C (350°F) and fry the shells until golden brown — usually 1–2 minutes.
- Remove with a slotted spoon and drain on paper towels. Allow to cool completely before removing from the molds.
💬 Pro Tip: For a lighter, healthy pastry, you can bake the shells instead at 200°C (390°F) for 10–12 minutes until golden.
Step 2: Making the Cannoli Filling
This is where your chocolate cannolis recipe comes alive — smooth, creamy, and irresistibly rich.
- In a clean bowl, beat together the ricotta and mascarpone until smooth and fluffy.
- Add powdered sugar and vanilla extract, then mix again until well combined.
- Gently fold in the melted dark chocolate (or milk chocolate for a softer touch).
- For extra indulgence, stir in mini chocolate chips or orange zest.
- Chill the filling for at least 20 minutes in the refrigerator before using — this helps it thicken beautifully.
🍯 ChocoChefAI Tip: Want an even smoother texture? Pass the ricotta through a fine sieve before mixing — your cannoli filling will be incredibly silky.
Step 3: Filling and Decorating the Cannolis
Here’s the most rewarding part — bringing everything together!
- Fill a piping bag with your chilled chocolate filling.
- Pipe gently into both ends of each shell until filled.
- Dip the edges in melted chocolate, crushed pistachios, or mini chocolate chips for an elegant finish.
- Dust with powdered sugar for that final Italian pastry touch.

✨ Serving Idea: Serve immediately for maximum crunch, or refrigerate filled cannolis for up to 2 hours before serving. Any longer, and the shells will soften slightly — still delicious, but less crisp.
There you have it — your homemade cannolis, crisp on the outside, creamy on the inside, and bursting with chocolate flavor. A true Italian dessert delight, made with love, simplicity, and a dash of ChocoChefAI magic.
ChocoChefAI Tip
Here’s where the art of pastry meets a touch of creative flair! Making the perfect cannolis recipe isn’t just about following steps — it’s about those small, thoughtful details that turn a simple dessert into something truly unforgettable.
Let me share a few pro pastry tips to make your chocolate cannolis stand out like those from an Italian café.
1. Keep Your Shells Crispy
The key to a delightful crunch lies in timing.
- Always fill the cannoli shells just before serving — this keeps them light and crisp.
- If you’re preparing in advance, store the cannoli shells in an airtight container at room temperature, then fill them right before presenting.
- To add an extra layer of protection (and flavor), brush the inside of each shell with a thin layer of melted dark chocolate. It forms a barrier that prevents sogginess and adds a delicious surprise in every bite.
2. Perfect Your Chocolate Filling
Texture is everything when it comes to cannoli filling.
- For a rich, balanced taste, mix ricotta and mascarpone — ricotta adds lightness, mascarpone brings creaminess.
- Melt your chocolate slowly over a water bath to preserve its shine and smooth consistency.
- Want to boost flavor? Add a hint of espresso powder or orange zest to the chocolate cannolis recipe for a subtle gourmet twist.
3. Presentation Makes It Magical
You eat with your eyes first!
- Dust the tops with powdered sugar or baking chocolate shavings for that professional finish.
- Dip the ends in milk chocolate and roll them in crushed nuts, dried fruit, or coconut flakes.
- Serve your Italian dessert on a contrasting plate — dark shells pop beautifully against a light background.
4. Keep It Light and Balanced
Even indulgent desserts can feel elegant and refreshing.
- Pair your cannolis with fresh berries or a drizzle of honey.
- For a healthy pastry variation, try using part-skim ricotta or low-fat mascarpone without sacrificing texture.
Each of these ChocoChefAI pastry tips adds a layer of finesse and personality to your dessert. Remember, the best results come from curiosity — don’t be afraid to experiment with flavors, textures, or decorations. That’s the beauty of homemade cannolis: every batch tells its own delicious story.
Creative Variations
One of the most exciting parts of mastering a cannolis recipe is the freedom to get creative once you’ve nailed the basics. Think of this dessert as your blank pastry canvas — crisp shells waiting to be filled with flavors that reflect your mood, the season, or your favorite ingredients. Here are some delightful twists to try, each bringing a new layer of taste and texture to your chocolate cannolis recipe.
1. Double Chocolate Cannolis
If you’re a true chocolate lover, this variation will melt your heart.
- Add a spoonful of baking chocolate or dark cocoa powder directly into the filling for extra depth.
- Dip both ends of the shell in melted chocolate, then sprinkle with mini chips or cocoa nibs.
- For contrast, use white chocolate drizzle over the top — it looks stunning and tastes divine.
💬 Pro Tip: Use dark chocolate for a bold, rich flavor or milk chocolate for a lighter, creamier sweetness.
2. Citrus Kiss Cannolis
Bring a refreshing twist to your Italian dessert with a hint of zest.
- Stir in finely grated orange or lemon zest into the ricotta mixture.
- A drop of orange blossom water can elevate the aroma beautifully.
- Garnish with candied peel or a dusting of powdered sugar for a sunny finish.
This variation pairs wonderfully with espresso — a perfect afternoon pick-me-up!
3. Tropical Cannolis
For those who love a lighter, more exotic dessert, try this light recipe version:
- Replace part of the ricotta with coconut cream for a velvety texture.
- Add a handful of shredded coconut to the filling for extra chewiness.
- Dip the shell edges in milk chocolate and roll them in toasted coconut flakes.
🍍 Bonus Idea: Add a few pieces of diced pineapple or mango to the filling for a tropical surprise.
4. Pistachio Dream Cannolis
A timeless favorite that combines nutty richness with elegant presentation.
- Fold finely ground pistachios into the filling.
- Dip each cannoli end in melted dark chocolate, then in chopped pistachios.
- Finish with a light dusting of powdered sugar for that bakery-perfect look.
5. Lighter & Healthier Version
Yes, even a healthy pastry can taste indulgent!
- Use part-skim ricotta and Greek yogurt instead of mascarpone.
- Swap refined sugar for honey or maple syrup.
- Bake the cannoli shells instead of frying for a light dessert that still has plenty of crunch.
Whether you go for the decadence of double chocolate cannolis or the brightness of citrus, each version tells its own story. The beauty of this quick chocolate recipe is its adaptability — it evolves with your creativity. So, experiment, taste, and most of all, enjoy every bite of your homemade masterpiece.
Serving & Presentation Tips
Now that your chocolate cannolis are perfectly crisp and filled with creamy, dreamy ricotta filling, it’s time to make them shine on the plate. Presentation plays a huge role in how a dessert is enjoyed — after all, we eat with our eyes first! Here’s how to serve your homemade cannolis like a true Italian pastry chef while adding a personal touch that wows every guest.
1. Timing Is Everything
- Always fill the cannoli shells just before serving. This keeps them delightfully crunchy instead of softening from the filling.
- If you’re preparing in advance, store the shells and filling separately. Assemble them a few minutes before dessert time for that bakery-fresh texture.
💬 Pro Tip: Keep your filling chilled in a piping bag, ready to use — it makes last-minute assembly quick and clean!
2. Elegant Plating Ideas
Transform your Italian dessert into a show-stopper with simple yet elegant presentation tricks:
- Place two cannolis diagonally on a dessert plate and dust lightly with cocoa powder or icing sugar.
- Drizzle melted chocolate in a zigzag pattern across the plate for a professional look.
- Add a few fresh berries or a mint leaf on the side for a pop of color and freshness.
🎨 Chef’s Secret: For extra flair, dip one end of the cannoli in crushed nuts, mini chocolate chips, or candied orange peel.
3. Perfect Pairings
Your chocolate cannolis recipe deserves to be savored with the right drink:
- Espresso or cappuccino for a classic Italian combination.
- A glass of sweet dessert wine like Vin Santo or Marsala for an authentic touch.
- Or simply a cup of hot chocolate for those cozy, indulgent evenings.
Each pairing enhances the creamy filling and balances the sweetness beautifully.
4. For Special Occasions
Want to turn your cannolis dessert into a centerpiece for celebrations? Try these ideas:
- Mini cannolis are perfect for parties or dessert tables — bite-sized and irresistibly cute.
- Create a cannoli tower by stacking them in a pyramid and drizzling with chocolate ganache.
- Add edible gold leaf or decorative sugar pearls for a festive, luxurious touch.
🌟 Whether for a romantic dinner, a family gathering, or just a personal treat, these serving ideas make every moment feel special.
Beautifully served and thoughtfully presented, your chocolate cannolis will not only taste divine but also leave a lasting impression. With a little creativity and care, you’ll turn a simple Italian pastry recipe into an unforgettable dessert experience — elegant, joyful, and oh-so-delicious.
Expert Tips & Troubleshooting
Even the best chocolate cannoli recipes can have little hiccups, but with a few expert tricks, you’ll get perfect results every single time. Think of this as your friendly pastry coach — helping you fix small issues, refine your technique, and add that professional polish to your homemade cannolis.
1. How to Keep the Shells Crispy
Nothing’s worse than a soggy cannoli! To keep them crunchy and fresh:
- Avoid filling them too early. Always pipe the ricotta filling just before serving.
- If you must prepare ahead, seal the inside of the shells with melted chocolate — it creates a barrier that prevents moisture from softening them.
- Store unfilled shells in an airtight container at room temperature, away from humidity.
💬 Pro Tip: A light dusting of powdered sugar before serving adds not only sweetness but also helps absorb any surface moisture.
2. Fixing a Runny Filling
If your chocolate ricotta filling turns out too soft or watery, don’t worry — it’s an easy fix:
- Use whole milk ricotta and make sure to drain it properly before mixing.
- For thicker texture, add a spoonful of mascarpone cheese or a small amount of powdered sugar to absorb excess liquid.
- Chill the filling for at least 30 minutes before piping it into the shells — this helps it set and hold its shape beautifully.
👩🍳 Bonus Tip: Always use cold mixing bowls and utensils when preparing the filling for best consistency.
3. Avoid Over-Frying the Shells
If your shells end up too dark or taste burnt:
- Keep your oil temperature between 175°C and 180°C (345°F–355°F).
- Fry in small batches to maintain stable heat.
- Remove shells as soon as they turn light golden brown, since they’ll continue cooking slightly after being removed from the oil.
🍴 For a lighter version, try baking the shells instead — they’ll still be crispy with less oil!
4. Flavor Variations to Try
Once you’ve mastered the classic, have fun experimenting with these delicious twists:
- Chocolate-dipped ends with crushed pistachios for color and crunch.
- Orange zest or cinnamon in the filling for a warm, fragrant touch.
- White chocolate cannolis for a creamy, elegant version of the traditional recipe.
Little changes in flavor or presentation can completely transform your Italian dessert and make it your signature creation!
💬 Final Thought : Mastering chocolate cannolis is all about balance — crispy shells, creamy filling, and a touch of creativity. Don’t stress over perfection; each batch teaches you something new. So have fun, experiment, and most importantly — enjoy every bite of your sweet Italian masterpiece.
Conclusion: Your Sweet Takeaway
And there you have it — the best cannolis recipe takeaway you’ll ever need! With just a few simple steps and the right balance of crunch, cream, and chocolate, you’ve mastered an Italian classic that never fails to impress.
Whether you’re preparing a quick chocolate recipe for a dinner party or simply craving a light dessert idea after a long day, these cannolis check every box. They’re elegant, easy to make, and versatile enough to suit any mood — from indulgent dark chocolate to a healthy pastry choice with lighter ricotta and baked shells.
Why You’ll Love Making Them Again:
- Fast and fun: Perfect for both beginners and seasoned bakers.
- Customizable: Switch up the fillings, toppings, or shells for endless variety.
- Beautifully balanced: Crisp, creamy, and just sweet enough to satisfy every chocolate lover.
So, next time you’re looking for a dessert that feels both sophisticated and effortless, remember this quick chocolate recipe — your very own cannolis masterpiece. Serve them with coffee, give them to friends, or enjoy them quietly on a cozy evening.
❤️ Because at ChocoChefAI, we believe every dessert tells a story — and your homemade chocolate cannolis might just be your sweetest one yet.
Related Recipes You’ll Love
If you enjoyed creating this cannolis recipe, you’re going to fall head over heels for these other irresistible Italian pastries and chocolate desserts. Each one offers a unique flavor experience, perfect for when you want to impress your guests or simply indulge your sweet tooth.
Classic Tiramisu — The Iconic Italian Dessert
Experience the timeless magic of tiramisu, where layers of espresso-soaked ladyfingers meet creamy mascarpone and a dusting of cocoa. It’s rich, light, and truly unforgettable — a perfect follow-up to your homemade cannolis.
Chocolate Mousse Recipe — Silky, Airy, Perfect
For those who adore smooth and delicate textures, this chocolate mousse recipe is a must-try. Made with dark or milk chocolate, it’s the perfect light dessert idea that feels decadent but won’t weigh you down.
Chocolate Lava Cake — Pure Indulgence
Nothing beats the drama of a chocolate lava cake with its molten center oozing out at the first spoonful. Serve it warm with vanilla ice cream or fresh berries for a dessert that’s equal parts comfort and sophistication.
Chocolate Croissants — A Breakfast Dream
Bring the charm of a Parisian café to your kitchen with homemade chocolate croissants. Crisp, buttery layers encase smooth melted chocolate — perfect for lazy mornings or an elegant brunch spread.
Chocolate Truffles — Bite-Sized Bliss
These chocolate truffles are little spheres of joy — rich, creamy, and endlessly customizable. Coat them in cocoa, crushed nuts, or shredded coconut for a luxurious treat that melts in your mouth.
Each of these recipes complements the charm of your chocolate cannolis, allowing you to expand your dessert repertoire with confidence and creativity.
❤️ From elegant Italian pastries to decadent chocolate classics, ChocoChefAI helps you craft desserts that delight both the eyes and the taste buds — one recipe at a time.
Frequently Asked Questions (FAQs)
Got a few questions before making your cannolis recipe? Don’t worry — you’re not alone! Here are the most common queries home bakers ask, answered clearly and simply to help you master this classic Italian dessert with confidence.
What is a cannoli?
A cannoli (plural: cannolis or cannoli) is a traditional Italian pastry originating from Sicily. It features a crisp, golden shell shaped like a small tube and filled with a smooth, creamy filling — usually made with ricotta cheese, sugar, and a hint of vanilla or chocolate chips. The contrast between crunchy shell and silky filling makes it one of Italy’s most beloved desserts.
How do you make cannolis?
To make authentic cannolis, you’ll:
Prepare the dough with flour, butter, sugar, and a splash of Marsala wine.
Roll and cut it into small circles.
Wrap the circles around metal tubes and fry them until crisp and golden.
Fill them with your chilled cannoli filling just before serving.
Can I bake cannolis instead of frying?
Absolutely! If you prefer a lighter dessert option, baking works wonderfully. Simply:
Preheat your oven to 375°F (190°C).
Place the wrapped shells on a baking sheet lined with parchment paper.
Bake for 15–18 minutes, or until crisp and lightly browned.
This method gives you a delicious, flaky texture — perfect for a healthy pastry choice without losing the signature crunch.
How to make cannoli filling without ricotta?
If you don’t have ricotta or prefer a variation:
Substitute it with mascarpone cheese for a creamier, richer flavor.
You can also use a blend of cream cheese and whipped cream for a lighter texture.
Sweeten gently and flavor with vanilla extract, cocoa powder, or orange zest to personalize it.
How long do cannolis last?
Unfilled shells can last up to 5 days when stored in an airtight container at room temperature. Once filled, serve within 24 hours to keep the shells crisp. If refrigerated, they’ll stay tasty but lose some crunch — still delicious, just softer.
Can I make cannolis ahead of time?
Yes! Here’s how to plan ahead like a pro:
Prepare the shells a few days in advance and store them unfilled.
Make the filling one day before serving and refrigerate it.
Assemble the cannolis right before serving to preserve that perfect texture.