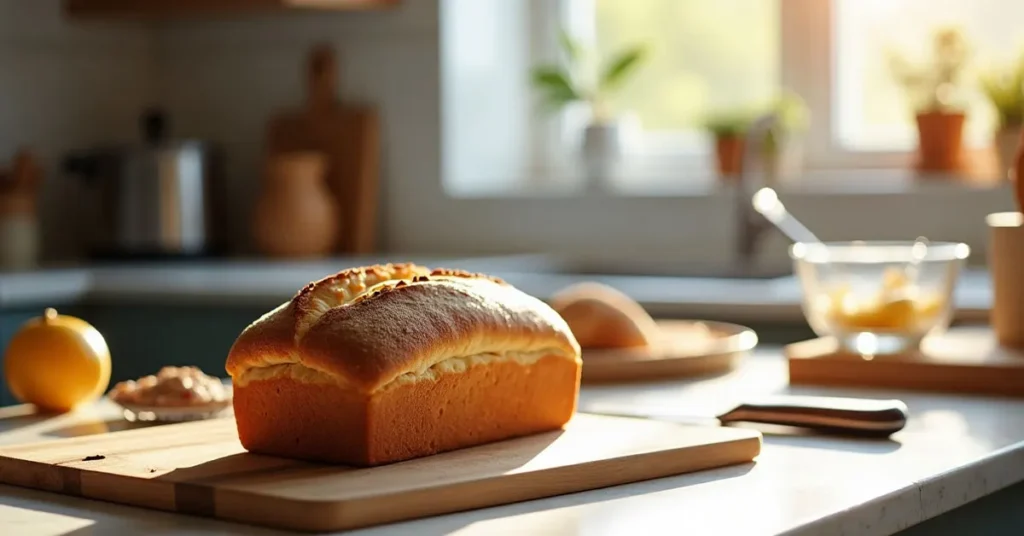
Gluten free bread
Table of Contents
Introduction – Gluten free bread
There’s something incredibly comforting about the smell of freshly baked gluten free bread wafting through your kitchen. Whether you’re managing a gluten intolerance, exploring healthier baking alternatives, or just curious about trying a gluten free bread recipe that actually works—this guide is for you.
I’ve tested and perfected this method to ensure your bread comes out soft on the inside, golden on the outside, and full of the rich, hearty flavor you crave in every slice. No more dense loaves or dry, crumbly textures—just reliable results and a process that’s surprisingly simple.
Have you ever struggled with getting the texture right, or wondered how to make gluten free bread that your whole family will enjoy? You’re not alone—and this step-by-step guide is packed with helpful tips and chef-approved secrets to make it a success.
Let’s dive in and bake a loaf you’ll be proud to share (or keep all to yourself—we won’t judge).
Why Choose This Gluten Free Bread Recipe?
When it comes to gluten free bread, finding one that truly satisfies—both in taste and texture—can feel like chasing a myth. But trust me, this recipe delivers. Whether you’re new to gluten-free baking or a seasoned pro, here’s why this loaf deserves a spot in your kitchen.
What Makes This Recipe a Winner?
- Soft, Not Crumbly
Thanks to the perfect mix of gluten free flour blend, a touch of xanthan gum, and just the right hydration, this bread stays moist and tender, not dry or chalky.
- Simple and Reliable
No complicated steps or obscure ingredients here. With just 5 straightforward stages, you’ll get professional-quality results without stress.
- Versatile Flavor Base
Whether you want to keep it classic or turn it into a gluten free banana bread or swirl in some melted chocolate, this recipe is your blank canvas.
- Celiac-Friendly & Gut-Friendly
Totally gluten free and easy on digestion—perfect for those avoiding wheat or managing sensitivities.
- No Fancy Equipment Needed
A bowl, a whisk, and a loaf pan are sufficient. While a stand mixer can be useful, it’s by no means necessary.
“Is It Really That Good?”
Yes—and I say that confidently because I’ve tested it more times than I can count. Each slice has that chewy, bready satisfaction most gluten free loaves lack. It toasts like a dream and holds together beautifully for sandwiches or slathered in butter.
If you’ve ever asked yourself:
- “How do I make gluten free bread without it falling apart?”
- “Is there a fast recipe that doesn’t taste like cardboard?”
- “Can I bake it without a bread machine?”
The answer is here—and it’s delicious.
Here’s a clear, visually appealing recipe summary table for your gluten free bread recipe, designed for easy reading and quick reference:
| Recipe Details | Information |
| Preparation Time | 15 minutes |
| Cooking Time | 40–45 minutes |
| Total Time | 1 hour |
| Portions | 1 loaf (about 12 slices) |
| Calories | Approx. 120 calories/slice |
| Categorize Recipe | Information |
| Course | Bread / Snack / Breakfast |
| Cooking Method | Baking |
| Difficulty | Easy |
| Cuisine | International / Gluten Free |
| Skill Level | Beginner to Intermediate |
Ingredients & Equipment You’ll Need
Before we jump into baking your perfect gluten free bread, let’s make sure you’ve got everything prepped and ready. Don’t worry—no need for fancy gadgets or a pantry full of obscure items. This is all about simplicity, quality, and flavor.
Here’s what you’ll need:
Ingredients (For One Loaf)
Each ingredient has a role—so let’s break it down with quick tips to help you get it just right.
| Ingredient | Quantity | Purpose & Tips |
| Gluten free flour blend | 3 cups (360g) | Choose a reliable mix that includes rice flour, potato starch, and tapioca flour. |
| Xanthan gum | 1½ tsp | Essential for binding and stretch—skip this only if your flour blend already has it. |
| Active dry yeast | 2¼ tsp (1 packet) | Gives your bread that classic rise and soft texture. |
| Warm water | 1½ cups (355 ml) | Around 110°F (43°C) to activate the yeast—too hot will kill it. |
| Olive oil | ¼ cup (60 ml) | Contributes to a richer taste while preserving the bread’s moisture. |
| Honey or maple syrup | 1 tbsp | Supports yeast activation while adding a mild sweet note. |
| Apple cider vinegar | 1 tsp | Helps balance the flavor and improves rise. |
| Salt | 1 tsp | Don’t skip it—it brings out all the other flavors. |
💡 Optional Add-ins: Want to make gluten free banana bread? Swap ½ cup of water for mashed ripe banana. Craving a twist? Add a swirl of melted chocolate into the final dough.
Equipment Checklist
You likely have most of these already in your kitchen:
- Use a large mixing bowl, preferably one made of glass or stainless steel.
- Whisk or stand mixer with paddle attachment
- Silicone spatula – For folding the dough gently
- Loaf pan – 8.5×4.5″ or 9×5″ works well
- Parchment paper – For easy removal and even baking
- Kitchen scale (optional): For precise flour measurements.
- Use a clean towel or some plastic wrap to cover the dough as it rises.
Quick Tips Before You Start:
- Measure carefully – Gluten free baking is more sensitive to ratios. Use grams for the most accurate results.
- Check your flour blend – If it already contains xanthan gum, skip adding extra.
- If the freshness of your yeast is in question, proof it by dissolving it in warm water with honey to confirm it’s active.
Up next: we’ll walk through each step of the preparation so you can bake with confidence—from mixing and rising to that moment when your kitchen smells like pure joy.
Step-by-Step: How to Make Gluten Free Bread
Let’s roll up our sleeves—it’s time to turn those quality ingredients into a gluten free bread loaf that’s soft, flavorful, and anything but dry. These five steps are simple, beginner-friendly, and designed for real-life kitchens.
Whether you’re baking for health, flavor, or curiosity, this guide walks you through each moment like a friend beside you in the kitchen.
Step 1: Activate the Yeast
This is where the magic starts.
- Warm the water to approximately 110°F (43°C)—it should feel like a warm bath, not hot. In a medium bowl, combine the warm water, honey (or maple syrup), and active dry yeast.
- In a medium-sized bowl, mix the warm water with honey (or maple syrup) and active dry yeast.
- Let it sit for 5–10 minutes until it gets bubbly and foamy.
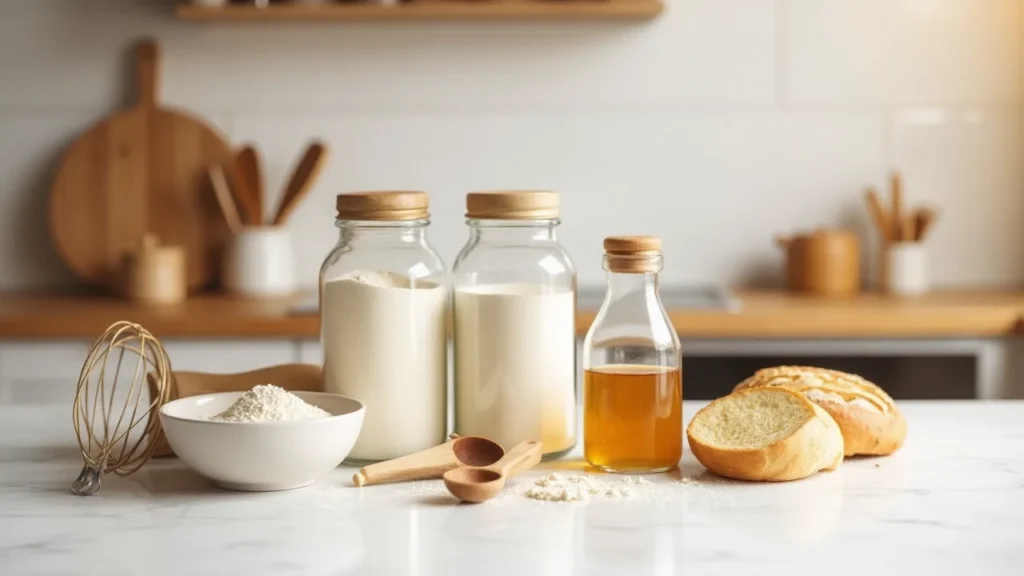
💡 No bubbles? The yeast may be expired, or the water might have been too hot. Try again with fresh yeast.
Step 2: Mix the Dry Ingredients
While the yeast is blooming, get your dry mix ready.
- In a large bowl (or mixer bowl), whisk together:
- 3 cups gluten free flour blend
- 1½ tsp xanthan gum (skip if already in your flour)
- 1 tsp salt
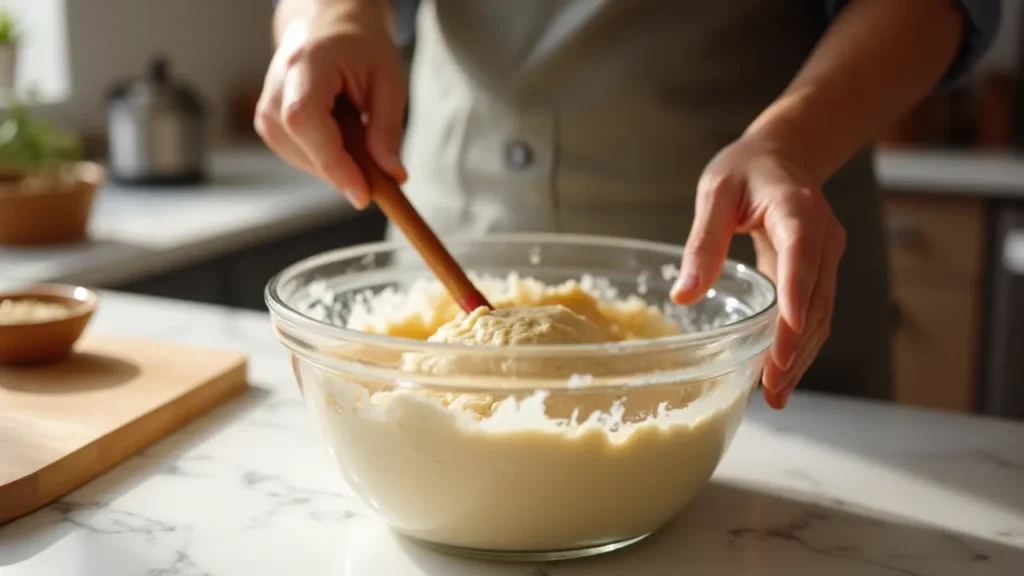
This base sets the stage for a smooth, well-textured dough.
Step 3: Combine and Mix
Now let’s bring it all together.
- To your dry mix, add:
- The foamy yeast mixture
- ¼ cup olive oil
- 1 tsp apple cider vinegar
- Mix thoroughly:
- Use a stand mixer with paddle attachment on medium speed for 3–4 minutes
– or mix by hand until the dough is smooth and sticky (not dry or firm).
- Use a stand mixer with paddle attachment on medium speed for 3–4 minutes
🍫 Want a twist? Now’s the time to fold in extras like mashed banana or a swirl of melted chocolate for a flavorful variation.
Step 4: Let It Rise
This is where patience pays off.
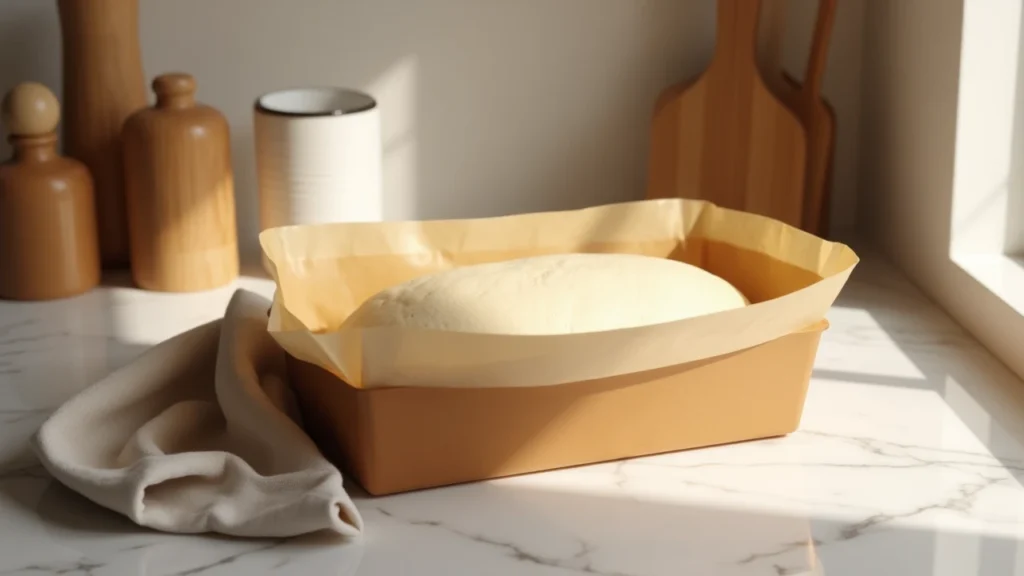
- Scoop the dough into a parchment-lined loaf pan. Smooth the top with a wet spatula.
- Cover with a clean towel or plastic wrap.
- Place the dough in a warm, draft-free location and allow it to rise for 45 to 60 minutes, or until it has expanded to twice its original size.
🌡️ Pro tip: If your kitchen is cold, place the pan inside a turned-off oven with the light on—it makes a cozy proofing box.
Step 5: Bake and Cool
Let’s bring it home!
- Preheat your oven to 375°F (190°C).
- Once the bread has risen, bake it for 40–45 minutes, until the top is golden and a toothpick comes out clean.
- Remove from the oven and let it rest in the pan for 10 minutes before handling.
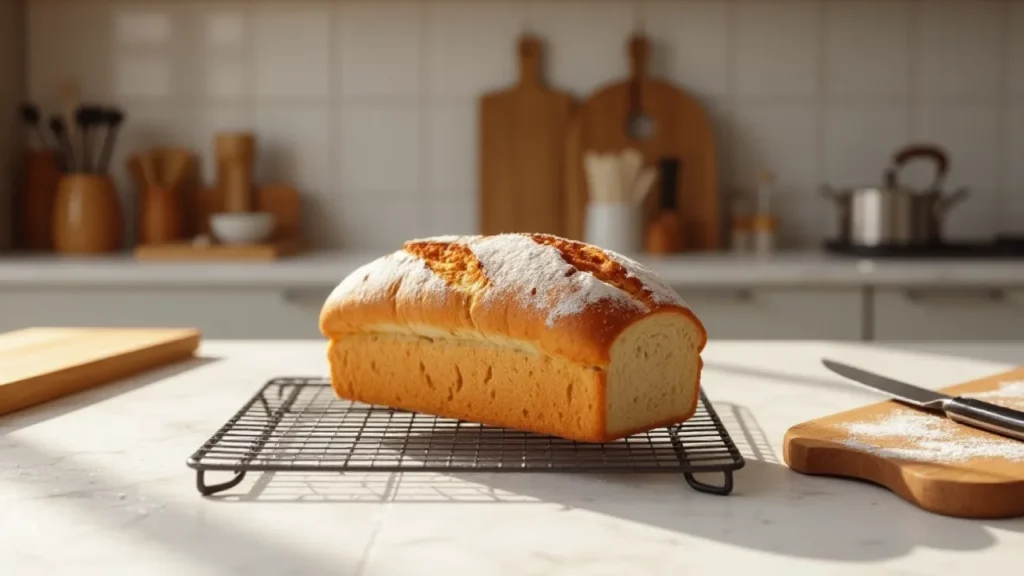
- Then lift it out and let it cool completely on a wire rack for the best texture.
❗ Don’t slice too soon! Gluten free bread needs to cool fully to set its crumb—resist the temptation.
With just five steps, you’ve created a gluten free loaf that’s light, springy, and perfect for slicing. Next up, I’ll share a few of my favorite pro secrets in the ChocoChefAI Tip section to elevate your results even further.
ChocoChefAI’s Pro Tips for Perfect Gluten Free Bread
You’ve mixed, proofed, and baked—but now let’s talk about those extra touches that take your gluten free bread from good to artisan-level amazing. These tips are born from lots of trial, error, and chocolate-streaked kitchen counters. Trust me—they work.
1. Master the Dough Texture
Gluten free dough isn’t supposed to look or feel like traditional bread dough. It’s usually more like a thick batter—sticky, but not pourable.
- If it feels dry or stiff, add a splash of warm water.
- If it’s too runny, a tablespoon of gluten free flour blend can fix it.
📌 Why it matters: This consistency helps create a moist crumb without becoming gummy.
2. Boost Flavor with Smart Add-Ins
Want a loaf that surprises and delights?
- Stir in ½ mashed ripe banana for subtle sweetness and extra moisture.
- Swirl in 2 tablespoons of melted dark chocolate just before transferring to the pan.
- Mix in herbs or garlic powder for a savory version.
🔄 Tip: Add-ins should be well-distributed and folded gently to keep the rise airy.
3. Use a Wet Spatula to Shape the Top
Instead of fighting the sticky dough, wet your spatula (or fingertips) with water and smooth the surface before proofing.
- This gives your loaf a polished top and ensures even baking.
- It also prevents the crust from cracking awkwardly.
4. Know Your Oven
Every oven has its quirks. Use an oven thermometer to verify the actual baking temperature (they often run hotter or cooler than they claim).
- Turn the pan midway through baking to promote even coloring.
- Should the top begin to brown too rapidly, loosely tent it with foil during the final 15 minutes.
5. Cool Completely Before Slicing
Gluten free bread needs time to set its structure. Cutting into it too early can result in a gummy interior—even if it looks baked.
- Wait at least 1 hour after baking.
- Store unsliced for better freshness if not eating right away.
These insider tips don’t just make a difference—they’re often the reason your bread turns out great the first time. And once you’ve got the basics down, don’t be afraid to get creative. In the next section, I’ll show you how to spin this same recipe into banana bread, sourdough-inspired loaves, and even a chocolate dessert twist!
Creative Variations to Reinvent Your Gluten Free Bread
One of the best parts about this gluten free bread recipe is its versatility. Once the foundational loaf is perfected, a wide range of possibilities opens up. Whether you’re after something sweet, savory, or even sourdough-style, these variations let you mix things up without reinventing the wheel.
Let’s explore a few favorite twists that elevate the classic loaf and add flavor, personality, and a bit of fun to your baking routine.
1. Gluten Free Banana Bread (Moist & Naturally Sweet)
Craving something a little sweeter? This variation makes an excellent choice for brunch or a relaxing afternoon indulgence.
How to do it:
- Replace ½ cup of warm water with mashed ripe banana (about 1 medium banana).
- Add ½ tsp of cinnamon and a dash of nutmeg.
- Optional: Fold in chopped walnuts or dark chocolate chips.
🍯 Bonus: The natural sweetness of banana means you can skip the honey if preferred.
2. Melted Chocolate Swirl (Decadent & Dessert-Worthy)
For chocolate lovers, this version transforms your loaf into something rich and irresistible.
How to do it:
- Melt 2–3 tbsp of dark chocolate (or semi-sweet).
- After mixing the dough, swirl the chocolate in using a butter knife—don’t overmix!
- Sprinkle sea salt or crushed almonds on top before baking.
🍰 Pro tip: Serve warm with a spoonful of whipped cream or dairy-free yogurt.
3. Gluten Free Sourdough-Inspired Bread
Miss the tang of sourdough? While traditional sourdough contains natural gluten, this version gets you close.
How to do it:
- Add 1 tbsp of apple cider vinegar (on top of the existing tsp in the base recipe).
- Use a thicker GF flour blend (with sorghum or buckwheat).
- Extending the rise time enhances the dough’s flavor complexity.
💡 Flavor tip: Add a pinch of caraway seeds or fennel for an artisan bakery feel.
4. Herby Garlic Loaf (Savory & Bold)
Great for sandwiches or alongside soup and pasta.
How to do it:
- Add 1 tsp each of dried rosemary, oregano, and garlic powder to the dry ingredients.
- Before baking, brush the top with a mixture of olive oil and minced garlic.
5. Nut-Free or Dairy-Free Versions
Need to tweak for dietary needs? No problem.
- Nut-free: Skip nut-based flours or mix-ins.
- Dairy-free: This base recipe is naturally dairy-free, but avoid chocolate with milk solids if doing the swirl version.
Whether you’re baking for brunch, snack time, or dinner sides, these creative twists make it easy to keep things fresh and flavorful. And the best part? You’re still working with the same reliable base—no need to learn a whole new method.
Next, I’ll show you exactly how to store, reheat, and reuse your gluten free bread so you never waste a single slice.
How to Store and Reuse Your Gluten Free Bread
Now that you’ve baked a beautiful loaf of gluten free bread, it’s important to keep it fresh and delicious for as long as possible. Unlike traditional bread, gluten free varieties can sometimes dry out faster, but with the right care, you can enjoy your bread for days or even weeks.
1. Best Ways to Store Gluten Free Bread
- Room Temperature:
Keep your bread in an airtight container or a resealable plastic bag at room temperature for up to 2-3 days. Avoid direct sunlight or warm spots that can speed up staling.
- Refrigeration:
Refrigerating can extend shelf life to about 5-7 days, but it might dry out the bread faster. If you refrigerate, make sure it’s tightly sealed.
- Freezing:
For longer storage, slice your bread and place the slices in a freezer-safe bag or container. This way, you can thaw only what you need. This bread freezes great—just pop it in the freezer and it’ll keep for up to 3 months.
2. How to Reheat and Refresh
- Thaw frozen bread by allowing slices to come to room temperature, or toast them directly from the freezer.
- Reviving Stale Bread: Lightly sprinkle the bread with water and warm it in the oven at 300°F (150°C) for 5–7 minutes. This helps restore moisture and softens the crumb.
- Toast Time: Toasting gluten free bread is a fantastic way to add crunch and revive flavor—perfect for sandwiches or breakfast.
3. Creative Ways to Reuse Leftovers
Don’t toss any leftovers! Here are tasty ideas:
- Croutons: Cut stale bread into cubes, toss with olive oil and herbs, then bake until crisp for homemade croutons.
- Breadcrumbs: Blitz dried bread in a food processor to make gluten free breadcrumbs for coating or topping casseroles.
- French Toast: Use slightly stale slices for a rich, custardy gluten free French toast.
💡 Final Storage Tips
- Always cool bread completely before storing to avoid condensation.
- Wrap tightly or use airtight containers to preserve freshness.
- Label with the freeze date to track how long it’s stored.
By caring for your gluten free bread properly, you can savor every crumb and avoid waste, making your baking efforts truly worthwhile.
Conclusion: Your Go-To Gluten Free Bread Recipe
You’ve now got all the tools, tips, and tricks to bake a gluten free bread loaf that’s soft, flavorful, and reliable every single time. From choosing the right ingredients to mastering the rise and exploring creative variations, this recipe is designed to become your kitchen staple.
Why This Recipe Works
- It’s simple enough for beginners but flexible enough for creative bakers.
- The texture stays perfectly moist and tender throughout, sidestepping the typical challenges often found in gluten-free baking.
- You can customize it easily—whether you want a sweet banana bread twist or a savory, herby loaf.
A Baking Adventure Worth Sharing
Baking gluten free bread is more than just following a recipe—it’s about experimenting, learning, and enjoying the process. I encourage you to:
- Share your results and tweaks in the comments below.
- Try one of the creative variations for your next bake.
- Gift a homemade loaf to a friend who might appreciate a fresh, gluten free treat.
Stay Connected
If you loved this guide, keep an eye out for more delicious, approachable gluten free recipes from me, ChocoChefAI. Baking without gluten has never been this satisfying—or this fun!
Ready to bake your perfect loaf? Let’s get started and make every slice count.
Related Recipes to Explore Next
Now that you’ve mastered this gluten free bread recipe, why not continue your baking adventure with some delicious, complementary treats? Each of these recipes pairs beautifully with your fresh loaf or offers a new twist on gluten free baking.
1. Gluten Free Banana Bread
This naturally sweet and tender loaf is ideal for breakfast or a midday treat. It’s a delicious way to put ripe bananas to good use—and a wonderful alternative if you enjoyed the banana-inspired touch in this recipe.
2. Chocolate Chip Gluten Free Muffins
Satisfy your sweet cravings with these soft, airy muffins bursting with luscious melted chocolate.They’re quick to make and perfect for sharing.
3. Almond Flour Cake
If you want to dive into nut-based gluten free baking, this light and fragrant cake is a great place to start. It’s elegant yet simple, ideal for tea time or celebrations.
4. Gluten Free Sourdough Bread
Craving that tangy, chewy texture? This sourdough-inspired gluten free bread will satisfy your artisan bread cravings while keeping things wheat-free.
Exploring these recipes will deepen your gluten free baking skills and add delicious variety to your kitchen. Plus, each comes with tips to keep your baking journey fun and successful.
(FAQs) About Gluten Free Bread
1. Is sourdough bread gluten free?
Traditional sourdough bread is made from wheat or rye, so it is not gluten free. However, there are specially crafted gluten free sourdough breads made using gluten free flours and natural fermentation techniques that you can enjoy safely.
2. Does Subway have gluten free bread?
Subway does offer gluten-free bread at certain locations, though availability can differ depending on the store. Always check with your local Subway for the latest options and to ensure no cross-contamination.
3. Is Ezekiel bread gluten free?
No, Ezekiel bread isn’t gluten-free—it’s made with sprouted whole grains like wheat and barley, which contain gluten, making it unsuitable for those with celiac disease or gluten sensitivity.
4. Is it possible to bake gluten-free bread without using yeast?
Yes! You can make quick gluten free breads using baking powder or baking soda instead of yeast. These breads tend to be more like cakes or muffins in texture and are great for speedy baking.
5. What can I do to help gluten-free bread rise more effectively?
Proof your yeast properly, keep the dough moist but not too wet, and provide a warm, draft-free place for the dough to rise. Adding a small amount of vinegar can also improve the rise and flavor.

