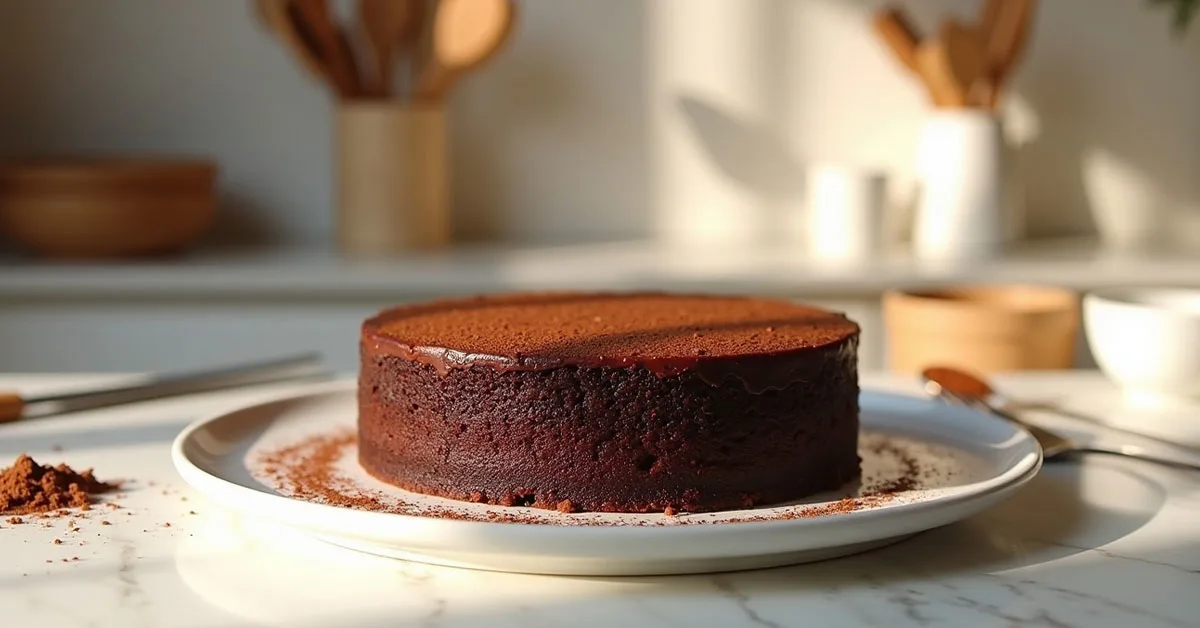
🔹 Step 1 — Preheat and Prepare. Start by preheating your oven to 350°F (180°C). Line your cake pan with parchment paper and lightly grease the sides. A well-prepared pan means your cake slides out effortlessly—no drama, no broken edges.
🔹 Step 2 — Combine the Dry Ingredients. In a large bowl, whisk together: Flour Cocoa powder Sugar Baking powder Baking soda Salt Whisking does more than mix—it aerates the ingredients, helping your cake rise into a soft, fluffy beauty. Make sure there are no cocoa clumps, or you’ll get streaks instead of smooth chocolate bliss.
🔹 Step 3 — Mix the Wet Ingredients. In a separate bowl, whisk: Eggs Buttermilk (or milk) Oil Vanilla This mixture should look silky and smooth. The oil is your moisture superhero here—it keeps your homemade chocolate cake tender for days.
🔹 Step 4 — Bring It All Together. Pour the wet mixture into the bowl of dry ingredients. Gently whisk until combined. The batter should look thick and glossy—think chocolate lava. Baker’s tip: Stop mixing as soon as the flour disappears. Overmixing develops gluten, creating a dense cake instead of a soft, velvety crumb.
🔹 Step 5 — Add the Hot Water (or Coffee). Slowly pour in the hot water or coffee, whisking as you go. The batter will suddenly loosen and look runny—that’s exactly what you want. The hot liquid “blooms” the cocoa, deepening the chocolate flavor. Coffee works wonders without making the cake taste like coffee.
🔹 Step 6 — Add Melted Chocolate. If you’re using melted chocolate (and I highly recommend you do), fold it in gently with a spatula. This extra step adds richness and a bakery-style texture you’ll absolutely love.
🔹 Step 7 — Bake. Pour the batter into your prepared pan and smooth the top. Bake for 30–35 minutes, depending on your oven. To see if it’s ready, slip a toothpick into the center—if it comes out clean or with a few soft crumbs, you’re good to go
🔹 Step 8 — Cool Like a Pro. Leave the cake in its pan for 10 minutes, then gently move it to a wire rack to finish cooling. This resting time helps the crumb set and keeps that soft, moist texture intact. With these steps, you’re not just following instructions—you’re building confidence, mastering techniques, and setting yourself up for a perfect chocolate dessert every time.