Chocolate Brownie Recipe
Table of Contents
Introduction
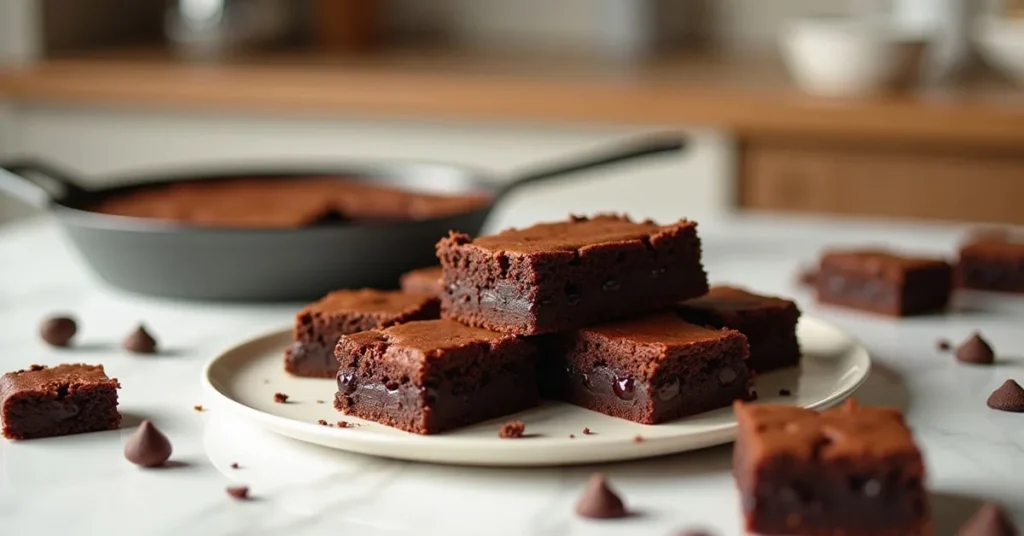
If you’ve ever bitten into a brownie so fudgy it practically whispered “I’m decadent”, then you already know why a great Chocolate brownie recipe feels like magic. Today, we’re unlocking three chef-approved secrets that turn a simple chocolate dessert into a melt-in-your-mouth masterpiece. No fancy pastry degree required—just a love for melted chocolate, a mixing bowl, and a tiny spark of curiosity.
Maybe you’re hunting for a quick chocolate recipe for last-minute guests, or maybe you just want a pan of warm, gooey joy “for research purposes.” Either way, you’re in the right place. I’ll walk you through each step like we’re baking side-by-side, sharing little tips, jokes, and the kind of “why didn’t I know this sooner?” moments that make home baking feel like a superpower.
Ready to make brownies that taste like the best version of your chocolate dreams? Let’s dive in—and don’t hesitate to share your own brownie stories. Trust me, every baker has at least one.
Why Choose This Recipe
If you’ve tried a dozen brownie recipes and still haven’t found the one, this Chocolate brownie recipe might just end your search. It’s designed for anyone who craves fudgy brownies with a deep, rich chocolate flavor—the kind that makes you pause mid-bite and wonder if you accidentally became a pastry chef overnight.
What makes this recipe special? Three simple secrets. No complicated steps, no obscure ingredients—just smart techniques that lift your brownie game from “pretty good” to “wow, I need another bite.”
Here’s why this recipe deserves a spot in your dessert rotation:
✔ Ultra-Fudgy Texture Every Time
This recipe focuses on achieving that dreamy, melt-in-your-mouth center thanks to:
- The perfect balance of melted chocolate and cocoa.
- A mixing method that keeps the batter dense, not cakey.
- A baking time that protects the gooey middle.
✔ Beginner-Friendly, Even If You’ve Never Baked Brownies
You don’t need professional gear or advanced kitchen wizardry. Just:
- A bowl
- A whisk
- A baking pan
- And a little chocolate enthusiasm
If you can melt chocolate without eating half of it first, you’re qualified.
✔ Fast and Foolproof for Any Occasion
Whether you’re whipping up a quick chocolate recipe for movie night, bringing dessert to a potluck, or testing your willpower at 11 p.m., this recipe:
- Takes only a few minutes of prep
- Uses ingredients you probably already have
- Delivers consistently rich results
Chocolate Brownie Recipe – Quick Summary
| 🍫 Recipe Details | Info |
| ⏱️ Preparation Time | 15 minutes |
| 🔥 Cooking Time | 25–30 minutes |
| ⏳ Total Time | 40–45 minutes |
| 🍴 Portions | 12 brownies |
| ⚡ Calories | ~250 kcal per serving |
| 🥄 Categorization | Info |
| 🍽️ Course | Dessert / Snack |
| 👩🍳 Cooking Style | Baking / Quick Recipe |
| ⭐ Difficulty | Easy |
| 🌍 Cuisine | International / Chocolate Dessert |
| 🎓 Skill Level | Beginner to Intermediate |
Focus on Ingredients and Equipment Required
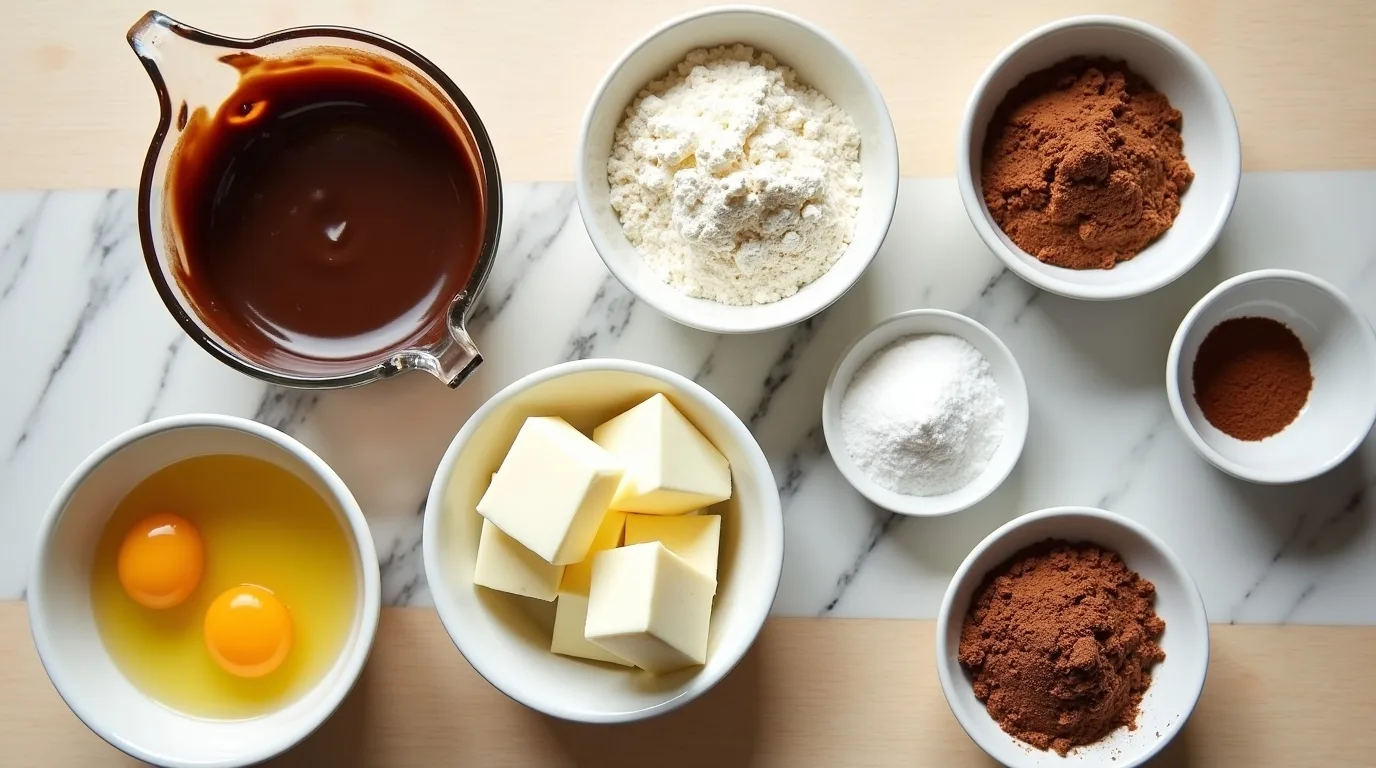
Before we dive into mixing bowls and melted chocolate, let’s set the stage with the essentials. Great brownies don’t require complicated tools or luxury ingredients—just the right balance of chocolate, butter, and a few pantry staples. This section helps you understand why each ingredient matters, so your Chocolate brownie recipe comes out fudgy, flavorful, and reliably delicious every time.
The Key Ingredients (and Why They Matter)
Each component plays a specific role. Think of them as a team: remove one, and suddenly everyone’s confused.
1. Dark Chocolate (150 g / 1 cup chopped)
The heart of your fudgy brownies. Choose good-quality dark chocolate (around 60–70%). It melts smoothly and gives your brownies that deep, rich flavor you can’t fake with cocoa alone.
2. Unsalted Butter (100 g / ½ cup)
Melted with chocolate, it creates the glossy, silky base responsible for the brownies’ signature texture. Butter = fudginess. Margarine = sadness.
3. Brown Sugar (150 g / ¾ cup)
Adds sweetness and chewiness thanks to its natural molasses. It also contributes to those shiny brownie tops everyone secretly judges you on.
4. Eggs (2 large)
Eggs bind everything together and give structure. Whisking them lightly introduces just enough air to keep brownies soft without turning them cakey.
5. Cocoa Powder (30 g / ¼ cup)
Boosts chocolate intensity and helps balance the moisture from the melted butter and chocolate. Choose unsweetened cocoa for the best flavor.
6. All-Purpose Flour (80 g / ⅔ cup)
We keep the flour amount low to maintain that moist, dense crumb. Too much flour and your brownies turn into chocolate bread. Nobody wants that.
7. Salt (1 pinch)
A little salt wakes up all the chocolate notes—trust me, you’ll taste the difference.
Optional but delicious:
- Chocolate chips for extra melt
- Walnuts or pecans for crunch
- Vanilla extract for depth
Equipment You’ll Need
The beauty of this brownie recipe is its simplicity. You’ll only need everyday tools:
- 1 heatproof bowl (for melting chocolate and butter)
- 1 whisk or wooden spoon
- 1 silicone spatula
- 1 square baking pan (20×20 cm / 8×8 in works perfectly)
- Parchment paper to prevent sticking
- Oven (preheated to 180°C / 350°F)
- Cooling rack for perfect texture after baking
No stand mixer, no food processor—just basic tools and a little chocolate determination.
⭐ Pro Tip Before You Start
Organize your ingredients before mixing. This simple habit (known as mise en place) makes the whole process smoother and prevents awkward “Wait, where’s the cocoa?” moments.
Step-by-Step Instructions to Bring the Recipe to Life
Now that you’ve gathered all your ingredients, it’s time to transform them into something truly delicious. This section will guide you through each stage with clarity and confidence, ensuring you enjoy the process as much as the final bite. Follow these steps at your own pace, and don’t hesitate to make the recipe your own.
1. Prepare Your Workspace
Before you start cooking, a little organization sets the tone for a smooth experience.
- Clear your countertop so you have enough room to work comfortably.
- Pre-measure key ingredients to avoid last-minute scrambling.
- Make sure your equipment—bowls, whisk, spatula, and baking dish—is clean and within reach.
Pro tip: A tidy setup helps prevent mistakes and keeps the entire process stress-free.
2. Combine the Base Ingredients
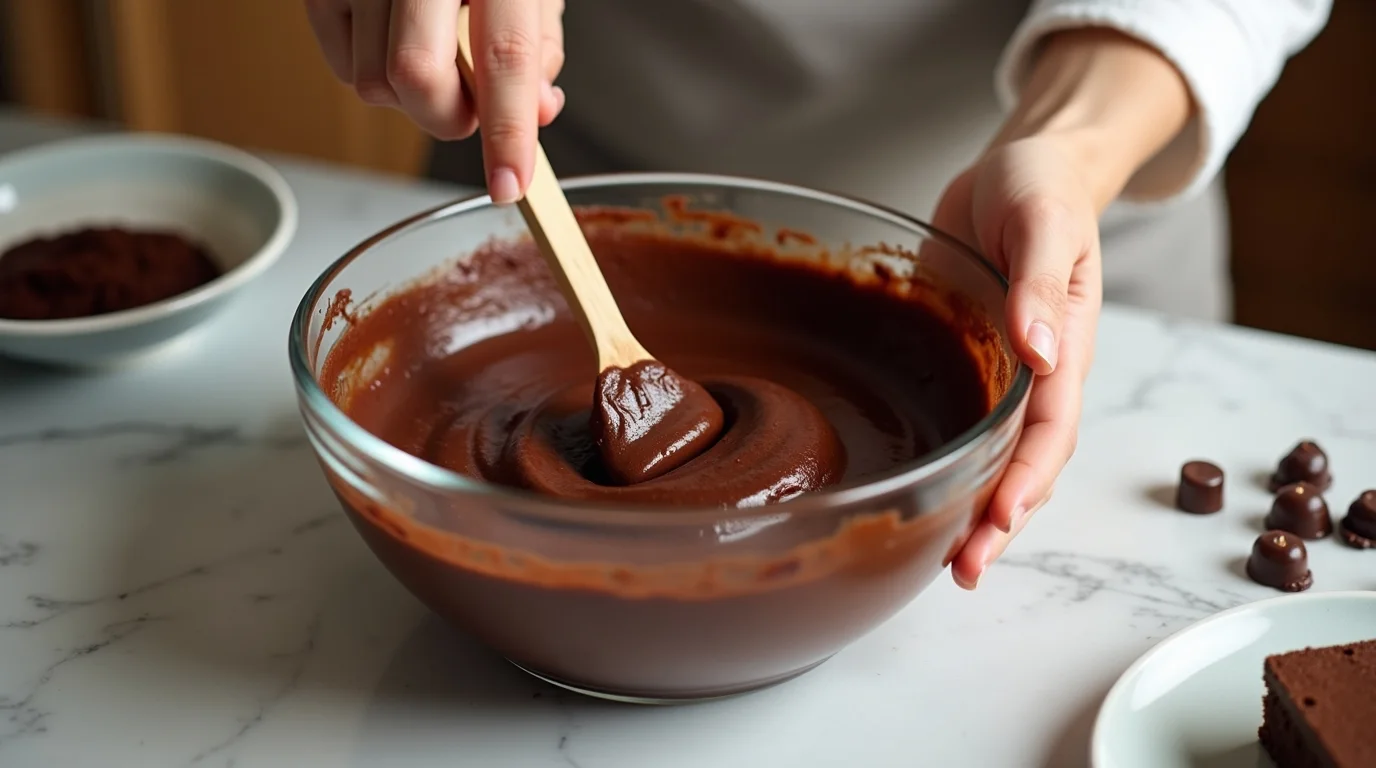
Start by building the foundation of your recipe.
- Add your main wet ingredients to a large mixing bowl.
- Whisk until the texture becomes smooth, shiny, and well incorporated.
- Slowly fold in the dry ingredients to avoid lumps and maintain a silky consistency.
Why this matters: Properly blending the base ensures the flavors develop evenly and prevents any grainy texture later on.
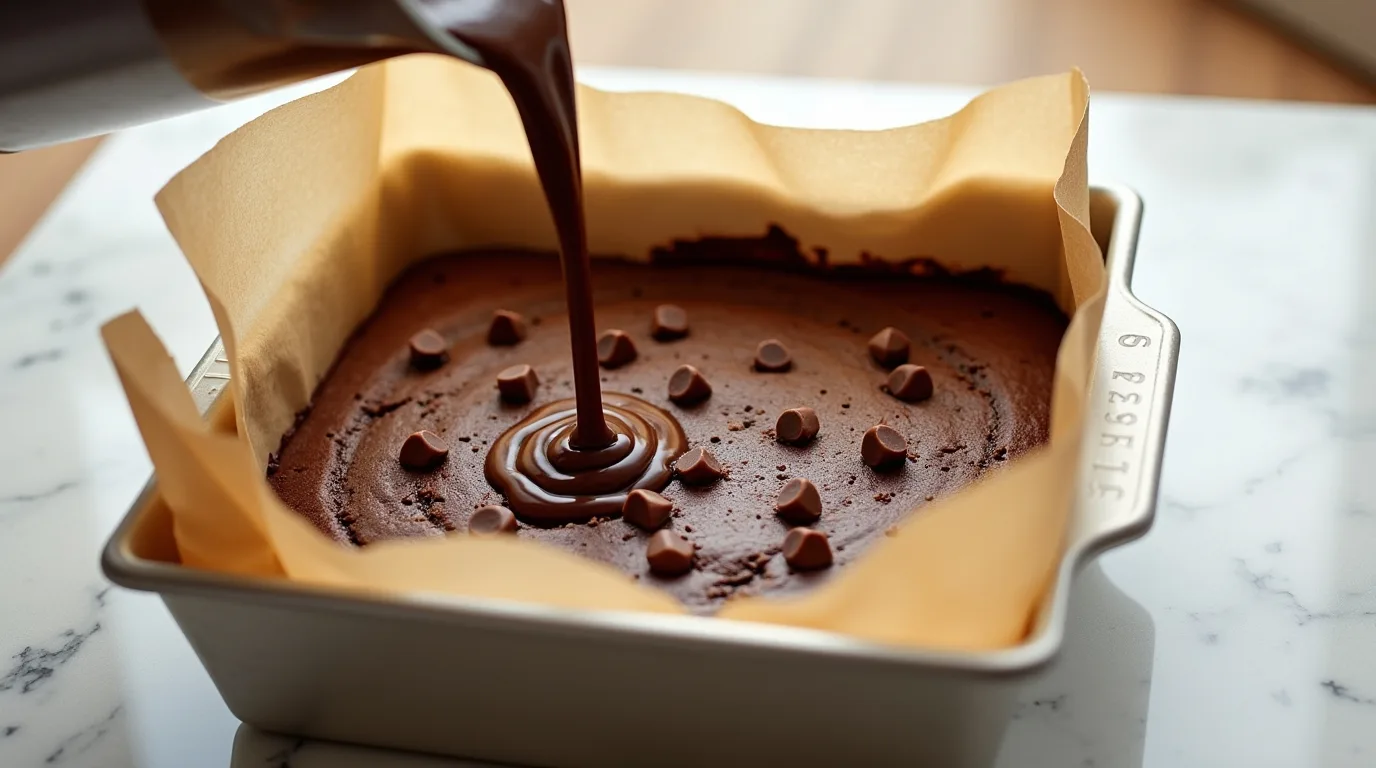
3. Shape, Spread, or Layer—Depending on the Recipe
This is where the magic begins.
- If you’re pouring batter, make sure the mixture flows smoothly into the pan.
- If you’re layering ingredients, ensure each layer is even for consistent cooking.
- If you’re shaping dough, lightly flour your hands to keep everything neat.
Pro tip: Smooth out the surface to promote even baking and a beautiful finish.
4. Bake or Cook with Care
Once everything is assembled, the transformation happens in the oven or on the stovetop.
- Preheat your oven as directed to ensure accurate cooking time.
- Place your dish on the center rack for the most even heat distribution.
- Keep an eye on the aroma—it’s often the best signal that your recipe is nearing perfection.
5. Test for Doneness
Before removing your creation from the heat, make sure it’s ready.
- Insert a toothpick or skewer into the center.
- If it comes out clean or with a few moist crumbs, you’re good to go.
- If it looks undercooked, give it a few extra minutes and check again.
Pro tip: Avoid overbaking—it can dry out your dessert and dull its flavor.
6. Cool and Set for Best Results
Letting your creation rest is just as important as the cooking itself.
- Place the dish on a cooling rack to reduce heat gradually.
- Allow it to reach room temperature to set the structure and enhance the flavor.
- If the recipe requires refrigeration, give it enough time to firm up properly.
Final Thoughts
By following these steps with care, you’ll achieve a dessert that’s flavorful, well-balanced, and beautifully textured. This stage of the recipe is all about letting the ingredients work together while you guide them with gentle, confident movements. With each step, you’re one moment closer to enjoying your homemade masterpiece.
Tips, Variations & Expert Advice for Perfect Results
Now that you’ve mastered the core steps, let’s take things a little further. This section gives you the kind of insider guidance that makes a good recipe exceptional. Whether you’re looking to refine the texture, adjust the sweetness, or explore creative twists, these tips will help you get the most out of every batch.
1. Fine-Tune the Texture
A great recipe isn’t just about flavor—it’s also about the perfect mouthfeel.
- For a lighter result, gently fold your mixture instead of stirring vigorously. This keeps the air in the batter and helps the final product rise beautifully.
- For a richer, denser finish, mix a little longer to fully combine ingredients and create a more compact structure.
- Watch the moisture level: If your batter feels too thick, add a splash of milk or cream; too thin, a spoonful of flour will bring it back.
2. Flavor Boosters to Personalize Your Recipe
Make the dish uniquely yours with subtle but impactful additions.
- Vanilla extract for warmth and depth.
- Espresso powder to intensify chocolate flavors.
- Citrus zest for a refreshing, aromatic lift.
- Sea salt flakes sprinkled on top for a gourmet finish.
Pro tip: Add your boosters in small amounts, taste, then adjust as needed. It’s all about balance.
3. Ingredient Substitutions That Actually Work
Whether you’re adapting for dietary needs or using what’s already in your pantry, these swaps blend in seamlessly:
- Butter → Coconut oil (adds subtle sweetness and keeps the texture tender).
- All-purpose flour → Almond flour (for a softer, gluten-friendly option).
- Dark chocolate → Milk chocolate (for a sweeter, creamier flavor profile).
- Heavy cream → Full-fat coconut milk (great for dairy-free alternatives).
These substitutions maintain quality without compromising the recipe’s success.
4. Avoid Common Mistakes
Even experienced bakers slip up sometimes, so here’s how to stay on track:
- Don’t overmix. Too much stirring can lead to a tough or deflated final texture.
- Avoid opening the oven too early. Sudden drops in heat can interrupt the cooking process.
- Measure ingredients accurately. Baking is a science—small changes can shift the result.
Final Thoughts
Great cooking is more than following instructions—it’s understanding how each step and ingredient contributes to the whole. These tips and variations give you the freedom to adapt, innovate, and truly enjoy the process. With a little confidence and creativity, every batch becomes an opportunity to explore new flavors and textures while still achieving reliable, delicious results.
Creative Variations to Reinvent Your Chocolate Brownie Recipe
One of the best things about a chocolate brownie recipe is how endlessly customizable it is. Once you’ve mastered the classic version, you can start exploring fun twists that match your mood, your pantry, or the season. Think of this section as your playground—simple ideas that turn your brownies into something new without complicating your baking routine.
1. Chocolate Lover’s Upgrade
If you’re all about rich, deep chocolate flavor, these variations will satisfy every craving.
- Triple Chocolate Brownies: Add chunks of dark, milk, and white chocolate for a molten, gooey center.
- Cocoa Brownie Boost: Mix an extra spoonful of cocoa powder for a more intense, bittersweet bite.
- Espresso-Infused Brownies: A pinch of instant coffee enhances the chocolate without making it “coffee-flavored.”
Perfect for readers searching “brownie recipe easy,” “dark chocolate,” or “best chocolate dessert.”
2. Fruity & Fresh Twists
If you enjoy balancing richness with brightness, these ideas add a refreshing contrast.
- Raspberry Swirl: Drop spoonfuls of raspberry coulis over the batter and gently swirl with a knife.
- Orange Zest Aroma: Finely grate orange peel into the mixture for a fragrant citrus note.
- Cherry Explosion: Fold in halved cherries for a juicy, sweet surprise in every bite.
3. Crunchy & Nutty Add-Ins
Add texture and depth to your brownies with simple ingredients you probably already have.
- Walnut or Pecan Brownies: Classic, reliable, and perfectly crunchy.
- Hazelnut Delight: Combine chopped hazelnuts with melted chocolate for a praline-like finish.
- Almond Crunch: Sliced almonds sprinkled on top add both beauty and texture.
4. Fun & Unexpected Variations
If you love experimenting in the kitchen, these ideas will bring out your playful side.
- Salted Caramel Drizzle: Pour thin ribbons of caramel over the batter before baking.
- Peanut Butter Swirl: Create a marbled effect by swirling creamy peanut butter across the top.
- Cookie Crust Layer: Add a base of crushed cookies or biscuits for a unique flavor and a little crunch.
5. Healthier Options (Without Sacrificing Taste!)
Light, nourishing alternatives for readers looking for a healthy pastry approach.
- Oat Flour Brownies: Replace part of the flour for added fiber and a tender texture.
- Reduced Sugar Version: Use dark chocolate with 70% cocoa and cut down on added sugar.
- Greek Yogurt Boost: Swap some butter for yogurt to keep the brownies moist yet lighter.
6. Festive & Seasonal Inspiration
Perfect for celebrations, holidays, or when you want to make your brownies extra special.
- Cinnamon Spice Holiday Brownies: Add cinnamon, nutmeg, and a hint of ginger.
- Mint Chocolate Brownies: Mix in natural mint extract for a refreshing finish.
- Easter or Christmas Toppings: Decorate with mini eggs, sprinkles, or themed chocolate pieces.
Final Thoughts
The beauty of this chocolate brownie recipe lies in its flexibility. A few thoughtful additions can turn a simple brownie into a personalized creation that reflects your taste—or the occasion you’re celebrating. Don’t hesitate to experiment, mix flavors, or combine several ideas. The best recipes often come from curiosity and a little bit of fun in the kitchen.
Conservation and Smart Reuse of Your Chocolate Brownies
Once your chocolate brownies are baked to perfection, the next step is making sure they stay fresh, fudgy, and irresistible. Proper storage can extend their texture and flavor, while creative reuse ideas ensure no crumb goes to waste. Here’s how to keep your chocolate brownie recipe delicious long after it leaves the oven.
💡 How to Store Your Brownies Perfectly
Even the best chocolate brownie recipe deserves thoughtful storage. Here are simple, foolproof methods to maintain that melt-in-your-mouth texture:
- Room Temperature (Best Option): Let brownies cool completely, then place them in an airtight container. They’ll stay soft and moist for 3 to 4 days.
- Layer with Parchment Paper: If stacking brownies, slip a sheet of parchment between layers to prevent sticking.
- Avoid Direct Heat: Store the container in a cool, dry place—heat or sunlight can dry them out quickly.
❄️ Can You Freeze Brownies? Absolutely!
Freezing is an excellent option if you want to prepare brownies ahead of time or keep a stash for sudden cravings.
- Cut cooled brownies into squares.
- Wrap each piece tightly in plastic wrap.
- Place them in a freezer-safe bag or box.
They freeze beautifully for up to 2 months, and thawing them at room temperature brings them right back to their fudgy glory.
🔥 How to Reheat Without Drying Them Out
Warming brownies can recreate that fresh-from-the-oven magic:
- Microwave Method: Heat for just 10–15 seconds to revive softness.
- Oven Method: Wrap in foil and warm at 150°C (300°F) for 5 minutes to restore texture.
For an extra treat, add a scoop of ice cream—it enhances the rich chocolate flavor instantly.
♻️ Creative Ways to Reuse Brownies (Nothing Wasted!)
Leftover brownies? That’s an opportunity for a whole new dessert. Here are fun and simple ideas to transform them:
- Brownie Trifles: Layer crumbled brownies with whipped cream, yogurt, or chocolate mousse.
- Ice Cream Topping: Crumble brownie pieces over vanilla or chocolate ice cream for a quick and indulgent dessert.
- Brownie Milkshake: Blend brownie chunks with milk and ice cream for a decadent chocolate shake.
- Brownie Parfaits: Mix fresh fruit, cream, and brownie bits for a lighter twist.
- Brownie Bread Pudding: Combine leftover brownies with milk and eggs, then bake for a rich, custardy treat.
Final Note
With just a bit of care, your brownies—whether made from dark chocolate, milk chocolate, or cocoa powder—stay irresistibly soft and flavorful. And with a little creativity, leftovers can easily become exciting new desserts your readers will love exploring.
Conclusion: Your Chocolate Brownie Adventure
Congratulations! You’ve just taken a deep dive into the art of creating the perfect chocolate brownie recipe. From carefully choosing ingredients to mastering techniques and exploring creative variations, you now have all the tools to bake brownies that are fudgy, flavorful, and utterly irresistible.
Key Takeaways for Delicious Brownies
- Quality Ingredients Matter: Using good chocolate—whether dark, milk, or black chocolate—makes a noticeable difference.
- Technique is Everything: Gentle folding, accurate measurements, and correct baking times are your secret weapons.
- Customization is Fun: Don’t be afraid to try the creative twists, add-ins, or flavor boosters we discussed. Each variation opens up a new taste experience.
- Storage & Reuse: Proper conservation keeps your brownies fresh, and leftover brownies can become exciting desserts like trifles, milkshakes, or parfaits.
Parting Tips
- Keep a notebook for flavor ideas and observations—they’ll help perfect future batches.
- Trust your senses: smell, taste, and texture are excellent guides when baking chocolate desserts.
- Most importantly, have fun! The smiles and compliments that come from homemade brownies are just as sweet as the dessert itself.
With these insights, your chocolate brownies are not just a recipe—they’re an experience, a conversation starter, and a slice of happiness on a plate.
Related Recipes to Explore
If you loved making this chocolate brownie recipe, why stop there? There’s a whole world of chocolate desserts and quick treats waiting to be explored. These related recipes are perfect for expanding your repertoire and impressing friends, family, or even just treating yourself.
1. Chocolate Lava Cake
- Rich, molten chocolate center that oozes with every bite.
- Quick and easy for an indulgent dessert any night of the week.
- Perfect paired with a scoop of vanilla ice cream.
2. Classic Chocolate Chip Cookies
- Soft, chewy, and loaded with chocolate chunks.
- A timeless dessert everyone loves.
3. Fudgy Chocolate Brownie Muffins
- Individual-sized brownies with the same decadent fudgy texture.
- Ideal for portion control or on-the-go snacking.
- Can be customized with nuts, caramel, or fruit.
4. Chocolate Mousse
- Light, airy, and creamy chocolate indulgence.
- Works as a perfect complement to brownies for a dessert platter.
- Quick preparation with heavy whipping cream and cocoa powder.
5. Dark Chocolate Bark
- Simple, fast, and versatile.
- Add nuts, dried fruits, or a sprinkle of sea salt for a gourmet touch.
- A fun, decorative dessert for holidays or special occasions.
6. Quick Chocolate Fudge
- Dense, creamy, and ultra-chocolatey.
- No-bake option for a stress-free dessert.
- Can be cut into small squares for gifting or snacking.
FAQs: Your Chocolate Brownie Questions Answered
Even the most experienced bakers have questions when it comes to chocolate brownies. This FAQ section tackles the most common concerns and provides quick, practical solutions so your brownies come out perfect every time.
1. Can I make brownies with cocoa powder instead of baking chocolate?
Absolutely! You can use cocoa powder in place of some or all of the chocolate. To maintain richness and fudginess, combine it with butter or oil, and consider adding a bit more sugar for balance.
2. How can I use leftover brownies creatively?
Brownie trifles: Layer with cream or chocolate mousse.
Milkshakes: Blend with milk and ice cream.
Parfaits: Mix with fresh fruit for a lighter dessert.
Brownie pudding: Bake with milk and eggs for a custardy treat.
3. Can I substitute milk chocolate for dark chocolate?
Yes! Milk chocolate will give a sweeter, creamier brownie, while dark chocolate creates a more intense, bittersweet flavor. You can even combine both for a layered taste.
4. How should I store brownies to keep them fresh?
Room temperature: Airtight container for 3–4 days.
Refrigeration: Up to a week, though chilling may slightly firm them.
Freezing: Wrap individually in plastic wrap and store in a freezer-safe bag for up to 2 months. Thaw at room temperature.
5. Can I make brownies ahead of time?
Yes! You can bake them a day or two in advance. Store properly to maintain moisture and freshness. For events, consider freezing and thawing on the day of serving.
6. Can I add nuts, fruits, or other flavors?
Definitely! Popular additions include:
Walnuts, pecans, or almonds for crunch.
Raspberries, cherries, or dried fruit for a fruity twist.
Swirls of caramel, peanut butter, or chocolate chips for extra indulgence.
7. Are there healthier brownie options?
Replace some butter with Greek yogurt.
Use whole wheat or oat flour for extra fiber.
Choose high-cocoa dark chocolate to reduce sugar and boost antioxidants.
8. Can I make brownies in different sizes or shapes?
Absolutely. Use muffin tins for individual brownies or smaller portions. You can also cut traditional pan brownies into fun shapes for parties or themed desserts.