
Best gluten free bread
Table of Contents
Introduction: best gluten free bread
If you’ve ever taken a bite of gluten free bread and thought, “Well… this tastes like a shy cardboard trying to be bread,” you’re not alone. But here’s the good news: we’re about to change that story completely. This guide to the Best gluten free bread focuses on flavor, softness, and that satisfying bakery-style bite that makes you close your eyes and nod like a very happy food critic. We’ll talk about the right ingredients, a smarter method, and a few friendly secrets that turn simple dough into real joy.
Whether you bake often or you’re bravely experimenting for the first time, you’ll discover how easy it is to get great texture, great taste, and zero disappointment. Ready to bake something that actually makes you proud? Let’s do this together — and if you’ve had a funny gluten free bread disaster before, I’d love to hear it. That’s how great kitchen stories begin.
Why Choose This Recipe
If you’ve tried gluten free bread before and felt slightly betrayed by its dry personality, you’re in the right place. This recipe is designed to give you everything you love about real bread — flavor, softness, structure — without the gluten drama. Think warm slices, a tender crumb, and a crust that actually behaves like bread, not like a biscuit wearing a bread costume.
Here’s why this really is the Best gluten free bread to try:
- Consistently soft texture that stays pleasant instead of turning into a brick overnight.
- Bakery-style taste with depth and aroma, so you don’t “tolerate” it — you enjoy it.
- Beginner-friendly method, even if gluten free baking usually scares you.
- Balanced ingredients chosen to improve flavor, moisture, and structure.
- Real versatility, perfect for toast, sandwiches, or enjoying warm with butter.
What makes it different from other gluten free bread recipes?
- It focuses on taste first, not just “acceptable results.”
- The method is simple, practical, and forgiving.
- Every step helps you avoid common problems like dense centers, crumbly slices, or dry texture.
By the time your first loaf comes out of the oven, you’ll not only have the best gluten-free bread in your kitchen—you’ll also feel confident, relaxed, and a bit proud of yourself. And truthfully, that’s half the pleasure of baking.
Here’s a professional, visually appealing recipe summary in a structured table format, designed for clarity and readability.
Recipe Summary: Best Gluten Free Bread
| 🍽️ Recipe Details | |
| ⏱️ Preparation Time | 15 minutes |
| 🔥 Cooking Time | 40 minutes |
| ⏳ Total Time | 55 minutes |
| 🍞 Portions | 1 loaf (about 12 slices) |
| 🔢 Calories | ~150 kcal per slice |
| 📌 Categorize Recipe | |
| 🍽️ Course | Breakfast, Snack, Side |
| 👩🍳 Cooking Method | Oven baking or Bread Machine |
| ⭐ Difficulty | Easy to Medium |
| 🌍 Cuisine | International / Home Bakery |
| 🏆 Skill Level | Beginner to Intermediate |
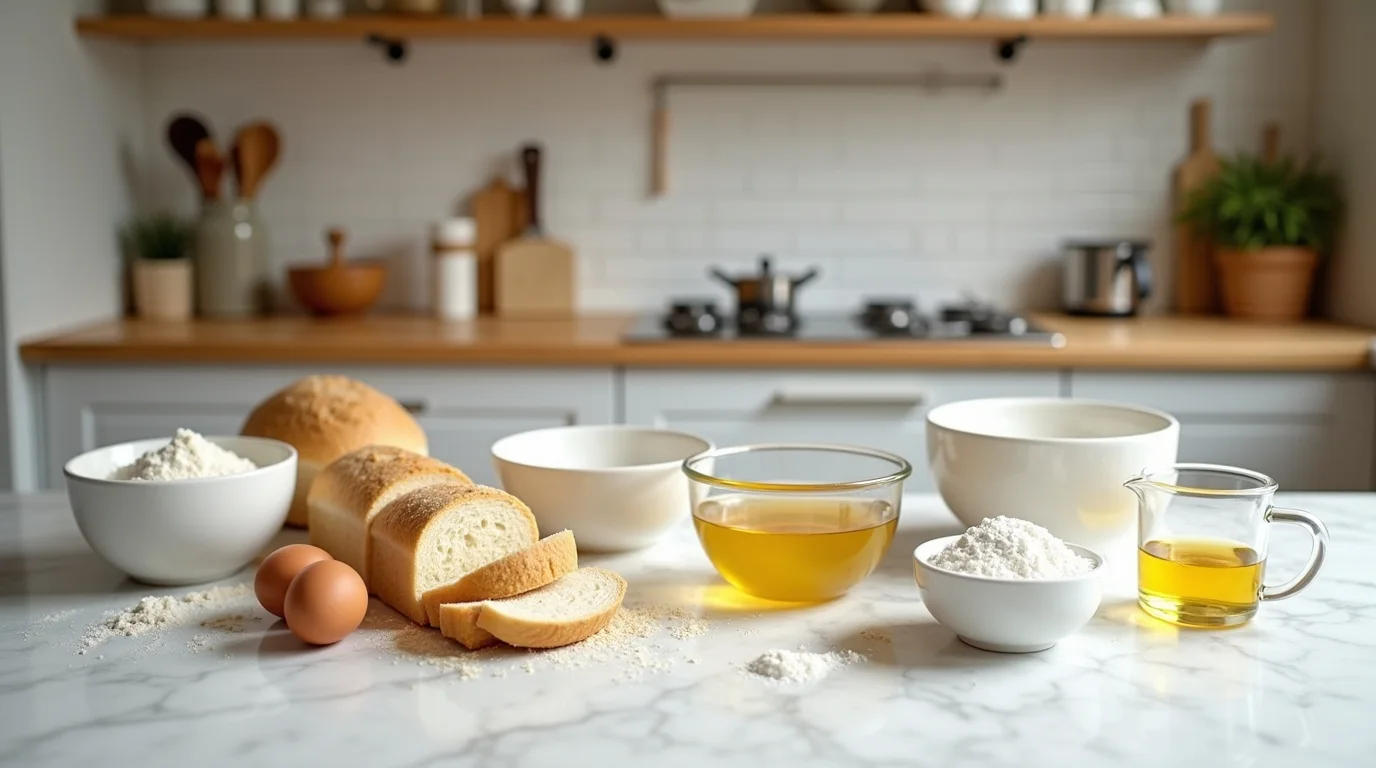
Ingredients & The Tools You’ll Need
Before we dive into mixing bowls and baking magic, let’s get organized. Great gluten free bread starts with the right ingredients and the right equipment — nothing complicated, just smart choices that make a huge difference in taste and texture.
Essential Ingredients (Measured with Love and Precision)
🥣 Dry Ingredients
- 3 cups (360 g) gluten free flour blend (bread-specific if possible)
- 2 tsp (7 g) instant yeast or active dry yeast
- 1½ tsp (7 g) salt
- 1 tbsp (12 g) sugar or honey
- 1 to 1½ tsp xanthan gum (skip only if your flour already includes it)
💧 Wet Ingredients
- 1¼ cups (300 ml) warm water — comfortably warm, not hot
- ¼ cup (60 ml) oil or melted butter
- 2 large eggs (room temperature)
- 1 tsp (5 ml) apple cider vinegar or lemon juice (improves softness)
🌟 Optional Boosters (Recommended for Better Texture & Taste)
- 1 tbsp (10 g) psyllium husk powder — adds elasticity and moisture
- 2 tbsp (30 ml) milk or plant milk — richer flavor
- 1 tbsp (15 ml) olive oil on top before baking — enhances crust
✅ Quick Helpful Notes
- Measure accurately — gluten free bread loves precision.
- If your dough feels extremely stiff, add 1–2 tbsp warm water.
- If using a bread machine, use the gluten free setting and the same ingredients.
Helpful Kitchen Equipment
- Mixing bowl – Preferably large enough to stir comfortably.
- Stand mixer or hand mixer – Gluten free dough is closer to thick batter, so mixing power helps.
- Loaf pan – Gives the bread its beautiful shape.
- Spatula – For smoothing the top and scraping every bit of goodness.
- Oven or bread machine – Either works; choose what makes your life easier.
- Kitchen scale or measuring cups – Accuracy = better flavor, better texture.
Why These Matter
The right flour blend keeps your loaf light instead of heavy. Proper hydration creates softness. Good yeast gives height and aroma. And using simple tools ensures consistency so you can enjoy the Best gluten free bread again and again without surprises.
Take a breath, gather your ingredients, and smile — you’re setting yourself up for bakery-worthy success right at home.
Preparation Steps in Detail
Take a deep breath — this is where your kitchen starts to smell amazing. Making the Best gluten free bread is less about fancy skills and more about following simple, thoughtful steps. I’ll guide you through it like we’re baking together at the same counter.
🔄 Step 1: Wake Up the Dough
- In a large bowl, combine the warm water, sugar or honey, and yeast.
- Let it sit for about 5–8 minutes until it looks foamy and alive.
If nothing happens, your yeast may be shy… or expired. Try again with fresh yeast. This step builds flavor and gives your gluten free bread that lovely rise.
🥣 Step 2: Mix the Dry Ingredients
- In another bowl, whisk together:
- gluten free flour blend
- salt
- xanthan gum (if needed)
This helps distribute everything evenly so your loaf bakes with a soft, even crumb rather than random dry or gummy patches.
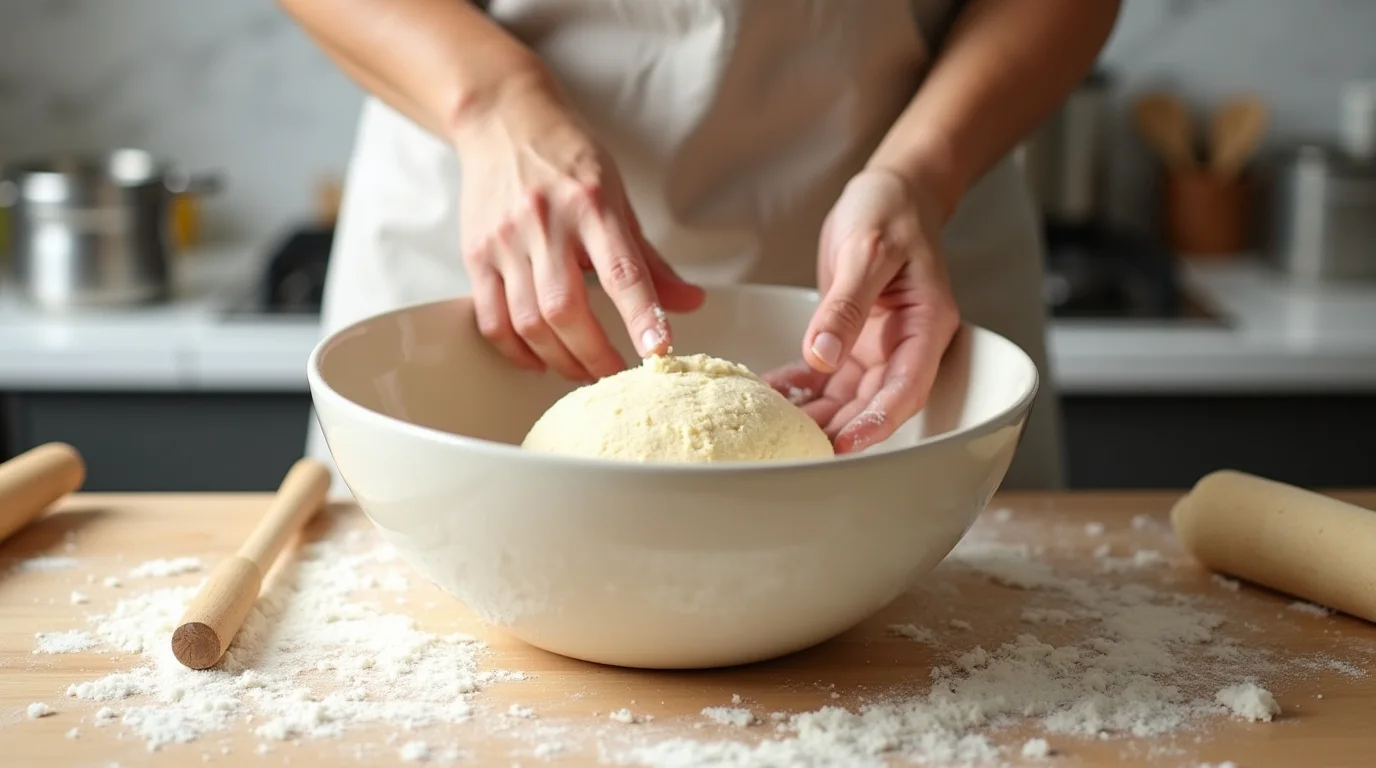
🤝 Step 3: Bring Wet and Dry Together
- Add the dry ingredients to your yeast mixture.
- Pour in the oil, eggs, and vinegar.
- Mix well using a mixer or sturdy spoon until you have a thick, sticky batter (not a kneadable dough — gluten free dough behaves differently).
If it feels extremely stiff, add 1–2 tablespoons of warm water. We’re aiming for smooth and creamy, not heavy and tough.
⏳ Step 4: Let It Rise
- Transfer the batter to a greased loaf pan.
- Smooth the top with a spatula — we want a confident-looking loaf, not one with anxiety wrinkles.
- Cover lightly and let it rise for 30–45 minutes in a warm place until slightly domed and puffy.
This proofing time is what makes your gluten free bread light and soft instead of dense.
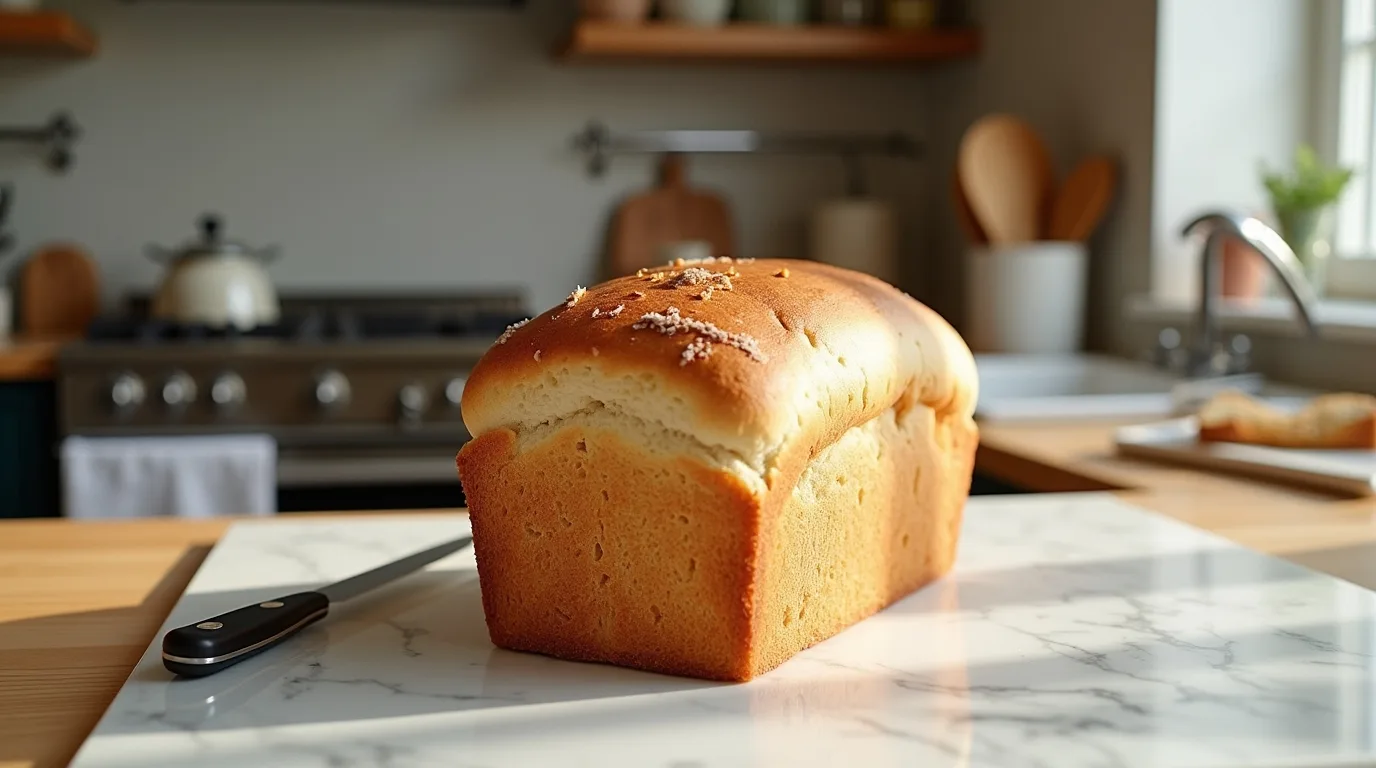
🔥 Step 5: Bake to Perfection

- Preheat your oven to 180°C / 350°F.
- Bake for 35 to 45 minutes, until the top turns golden and the center is set.
- If you tap the crust and hear a hollow sound, congratulations — it’s a happy loaf.
❄️ Step 6: Cool… Even If You’re Excited
Place the loaf on a cooling rack and resist the temptation to cut immediately. Cooling helps the structure set, giving you beautiful slices instead of crumbly chaos.
🌟 Helpful Tips for Success
- Use a good gluten free flour blend designed for bread. It truly changes everything.
- Don’t skip resting time — it creates better rise, better flavor, and better texture.
- If you love soft slices, wrap the loaf in a clean towel while it cools.
With these simple steps, you’re not just baking gluten free bread — you’re creating something comforting, flavorful, and genuinely enjoyable. Now you’re officially on your way to bakery-worthy results at home.
ChocoChefAI Tip: The 7 Secrets to Ultimate Taste
Ready to level up from “pretty good” to Best gluten free bread worthy of applause? These seven chef-style secrets transform your loaf from basic to irresistible. Think softer crumb, richer flavor, and that bakery aroma that makes everyone wander into the kitchen “by accident.”
1️⃣ Hydration Is Everything
Gluten-free dough requires a higher level of moisture compared to traditional wheat-based dough. A slightly sticky, batter-like texture creates a softer, fluffier loaf with better rise and flavor.
- If the dough feels stiff, add 1–2 tablespoons of warm water.
- Moisture is the key to tenderness, a finer crumb, and that truly satisfying bread experience.
2️⃣ Use a Quality Gluten Free Flour Blend
Not all gluten free flour is created equal. Choose a bread-specific gluten free flour blend or one with starches and protein balance for structure and softness.
Better flour = better texture, better taste, fewer tears.
3️⃣ Binding Support Is Your Silent Hero
Gluten-free bread needs help staying together. Xanthan gum or psyllium husk replaces gluten’s “hold everything together” job.
- Psyllium adds elasticity and chew.
- Xanthan gum improves structure and sliceability.
Hello, beautiful slices.
4️⃣ Yeast Needs a Comfortable Environment
Warm liquid, a little sweetness, and patience help yeast bring height and aroma to your gluten free bread.
- Don’t use overly hot water — it can kill the yeast.
- Let it foam properly; that foam is flavor in progress.
5️⃣ Proofing Time Builds Softness and Flavor
Letting your dough rise properly makes a huge difference. Aim for a gently domed top and a light, puffy feel before baking.
- Find a warm, calm corner.
- Avoid rushing; bread senses stress (or at least it acts like it does).
6️⃣ Don’t Skip the Cool Down
I know — the smell is irresistible. But slicing too soon can make the bread gummy or crumbly. Cooling helps the structure set, giving you neat, satisfying slices.
Patience now = perfect texture later.
7️⃣ Flavor Enhancers Make Magic
A little oil, a touch of honey, or a splash of apple cider vinegar adds depth, softness, and bakery-style taste. These tiny additions create that “wow, this is actually incredible” moment.
⭐ Final Thought
These simple secrets turn ordinary dough into the Best gluten free bread experience — soft, flavorful, and proudly homemade. Follow them, and you’ll bake with confidence, joy, and maybe a little swagger every time.
Creative Variations
One of the best things about baking gluten free bread at home is the freedom to make it your own. Once you’ve mastered the basic loaf, it’s easy to experiment with flavors, textures, and even a few indulgent twists. Here are some ideas to spark your creativity — all still soft, flavorful, and proud-of-yourself-worthy.
1️⃣ Sweet & Fruity Twist
- Mix in chopped dried fruits such as raisins, cranberries, or apricots for extra texture and flavor.
- Sprinkle a touch of cinnamon or nutmeg for warm, comforting flavor.
- Perfect for breakfast toast or a quick snack with butter or cream cheese.
2️⃣ Nutty & Seedy Crunch
- Mix in sunflower seeds, pumpkin seeds, or chopped walnuts for added texture.
- Top the loaf with seeds before baking for a professional bakery look.
- Great for sandwiches or as an accompaniment to soups and salads.
3️⃣ Chocolate Banana Bread Inspiration
- Fold in mashed banana and dark or milk chocolate chips.
- Slightly reduce sugar if bananas are very sweet.
- Creates a moist, dessert-like loaf that doubles as a healthy pastry option.
4️⃣ Savory Herb & Cheese Bread
- Incorporate grated cheese (like Parmesan) and herbs (rosemary, thyme, or chives).
- Use Brazilian cheese bread recipe inspiration for a cheesy, airy texture.
- Perfect for brunch, paired with eggs, or served warm with olive oil.
5️⃣ Rustic Artisan Loaf
- Experiment with gluten free sourdough starter for tang and aroma.
- Rough shaping gives that rustic, bakery-style charm.
- Excellent for open-faced sandwiches or dipping into hearty stews.
🌟 Tips for Success with Variations
- Start with one addition at a time to understand how it affects texture.
- Adjust hydration slightly when adding wet ingredients like banana or yogurt.
- Don’t overload the dough — we want flavorful enhancements, not dense bricks!
By playing with flavors, textures, and small tweaks, you’ll discover endless ways to enjoy the Best gluten free bread — from everyday sandwiches to indulgent sweet treats, all baked with confidence and fun.
Conservation and Reuse
Congratulations — your gluten free bread is baked, cooled, and ready to delight. But now comes an equally important step: keeping it fresh and enjoying every slice without waste. With a few simple strategies, your loaf will stay soft, flavorful, and versatile for days — and you can even transform leftovers into new treats.
✅ Storing Your Loaf
- Room temperature: Keep the bread in an airtight container or tightly wrapped in plastic for up to 2–3 days.
- Refrigeration: If you need it to last longer, wrap it well and refrigerate for up to 5 days, though it may dry slightly faster.
- Freezing: Slice the loaf and freeze in individual portions with parchment between slices. Let it defrost at room temperature, or pop it straight into the toaster while still frozen.
♻️ Creative Ways to Reuse Leftovers
- Toast: A classic — top with butter, jam, or avocado.
- Breadcrumbs: Pulse dried slices in a food processor and use for coatings or casseroles.
- French Toast: Transform slightly stale slices into a rich, sweet breakfast.
- Mini Sandwiches: Freeze slices for quick lunches or on-the-go snacks.
🌟 Handy Tips for Longevity
- Avoid cutting the whole loaf at once; slice as needed to retain moisture.
- Keep bread away from direct sunlight or heat — even gluten free loaves can dry out quickly.
- For extra softness, wrap slices in a clean kitchen towel inside the container.
By mastering conservation and reuse, your loaf doesn’t just taste amazing — it becomes a versatile, long-lasting staple in your kitchen, ready for breakfast, lunch, or a quick chocolate dessert experiment. Baking gluten free bread this way means more flavor, less waste, and more happy moments at your table.
Conclusion
And there you have it — your journey to the Best gluten free bread is complete! From selecting the right flour to mastering rise, flavor, and texture, you’ve learned the secrets that make a simple loaf extraordinary. Every step, every tip, and every little trick has been designed to help you bake with confidence, joy, and a touch of culinary flair.
Why This Loaf Works
- Soft, tender crumb that stays moist longer.
- Golden, appealing crust that feels like a bakery loaf.
- Versatile enough for sandwiches, toast, or even a sweet treat.
Takeaways for Your Kitchen
- Precision matters, but so does fun — enjoy the process.
- Small adjustments, like hydration and proofing, make a huge difference.
- Variations and leftover hacks extend the life of your loaf and spark creativity.
Baking gluten free bread doesn’t have to be intimidating. With these techniques, your home kitchen can produce a loaf that rivals any bakery, while still being uniquely yours. So go ahead — slice, share, and savor the reward of flavorful, soft, and satisfying gluten free bread that brings real joy to your table.
Remember: every loaf you bake is a small victory, a delicious experiment, and a reason to smile. Keep practicing, keep experimenting, and keep turning your kitchen into a happy, fragrant place where the magic of baking never ends.
Related Recipes
If you’re loving your gluten free bread adventure, why stop here? There’s a whole world of delicious, creative baking to explore — and many recipes that pair beautifully with your freshly baked loaf. Here are some favorites that bring variety, fun, and inspiration to your kitchen.
Sweet Inspirations
- Chocolate Chip Banana Bread Recipe – Moist, flavorful, and a perfect way to use ripe bananas. A delightful dessert or breakfast treat.
- Quick Chocolate Recipe – Simple, indulgent, and great for pairing with a slice of your bread for a sweet snack.
- Healthy Pastry Ideas – Sweet treats that satisfy your cravings without derailing your wellness goals.
Savory Adventures
- Brazilian Cheese Bread Recipe (Pão de Queijo) – Chewy, cheesy, and naturally gluten free — perfect alongside sandwiches or soups.
- Light Recipe Variations – Low-fat or dairy-free options that still taste rich and satisfying.
Chocolate Fun
- Milk, Dark, or Black Chocolate Desserts – Try combining a slice of your bread with a simple chocolate drizzle or melted chocolate topping.
- Pastry Tips & Hacks – Learn how to use leftover gluten free bread in creative dessert ideas, like bread puddings or chocolate toasts.
Exploring these recipes not only expands your gluten free repertoire but also keeps your baking playful and adventurous. Whether you’re after a light dessert, a rich chocolate indulgence, or a savory delight, your kitchen becomes a space to experiment, enjoy, and share amazing flavors with friends and family.
FAQs About Gluten Free Bread
Baking gluten free bread raises plenty of questions — and I’ve got you covered! These FAQs address common challenges, tips, and curiosities to help you bake with confidence and avoid common pitfalls.
1️⃣ Why is my gluten free bread dense?
Dense bread often happens when the hydration is too low or the dough didn’t rise long enough. Ensure your batter is slightly sticky, use the right gluten free flour blend, and allow proper proofing time. Small adjustments make a huge difference.
2️⃣ Can I bake gluten free bread in a bread machine?
Absolutely! Many modern machines have a gluten free setting. Use the same ingredients, follow the sequence suggested in your machine’s instructions, and expect slightly different texture than oven baking — still soft and delicious.
3️⃣ What is the best gluten free flour for bread?
Look for bread-specific gluten free flour blends. These usually combine rice flour, starches, and proteins for structure. Avoid one-ingredient flours alone (like rice or almond), which often produce crumbly results.
4️⃣ Can I make gluten free bread without xanthan gum or psyllium husk?
It’s possible but challenging. These ingredients mimic gluten’s binding role. Omitting them may result in a denser loaf or more crumbly texture. If you want a “pure” alternative, try a pre-mixed gluten free flour that already includes a binder.
5️⃣ How long does gluten free bread last?
Room temperature: 2–3 days in an airtight container.
Refrigerator: Up to 5 days, though texture may dry slightly.
Freezer: Up to 3 months; slice first for easy thawing.
6️⃣ Any tips for beginners?
Measure ingredients accurately — gluten free baking loves precision.
Don’t rush proofing; patience = better rise and texture.
Start with the basic loaf before experimenting with creative variations or add-ins.